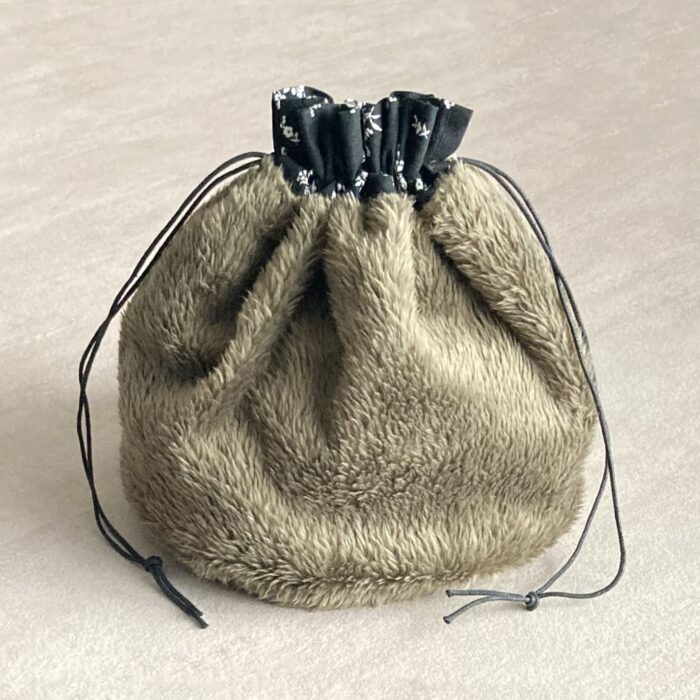
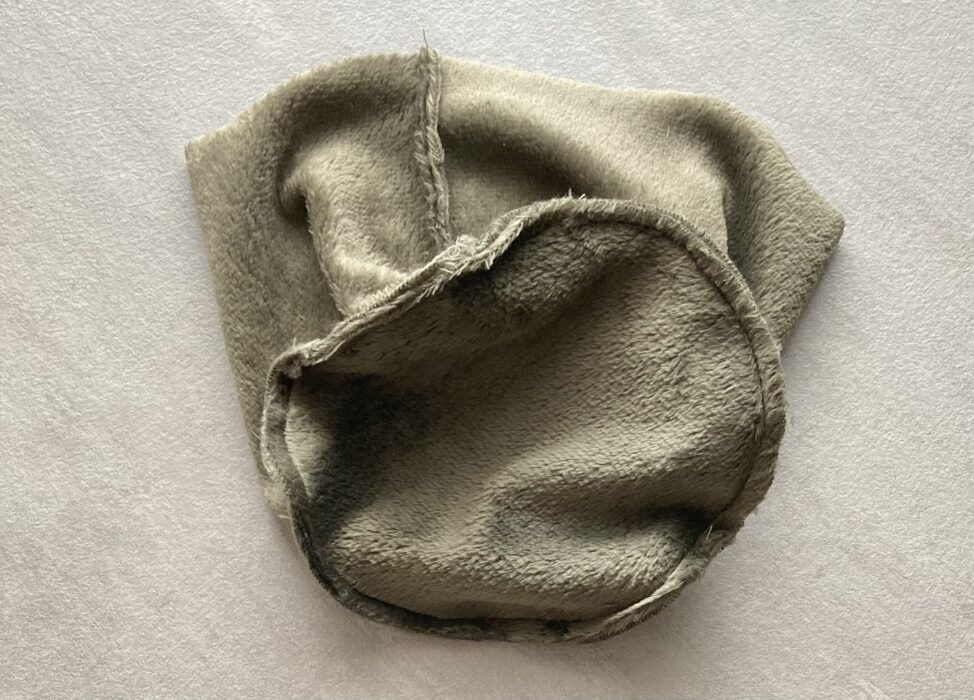
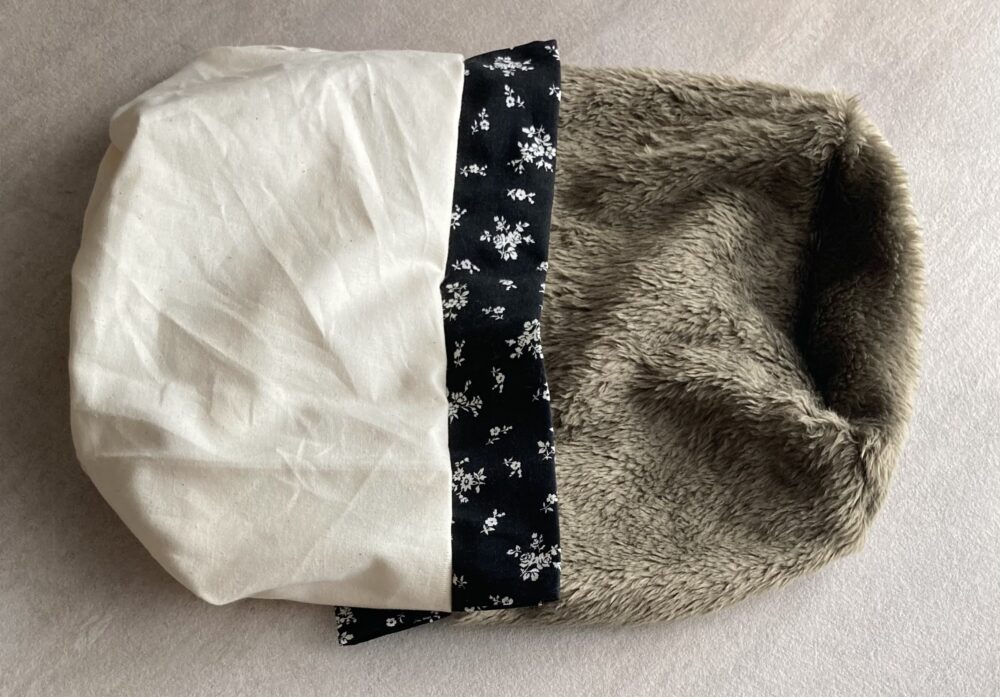
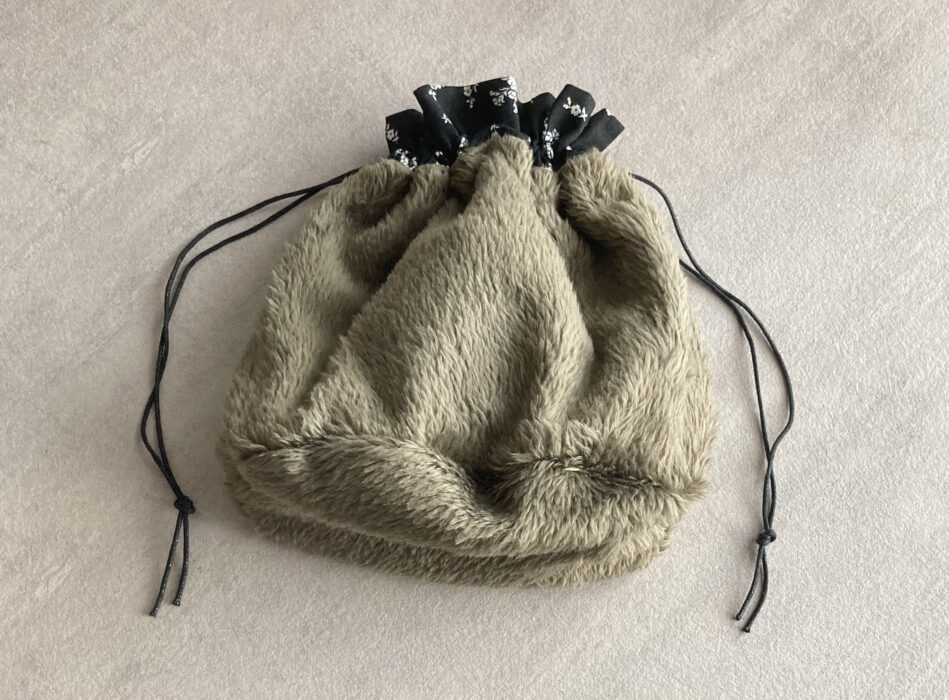
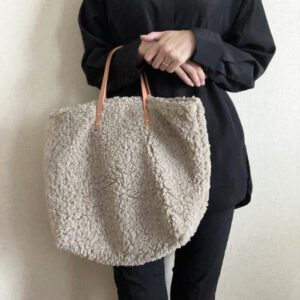
モコモコのボア生地を使った丸底巾着バッグの作り方をご紹介します。
丸底のボア巾着バッグの作り方
完成サイズ
完成サイズは直径20㎝×高さ18㎝。
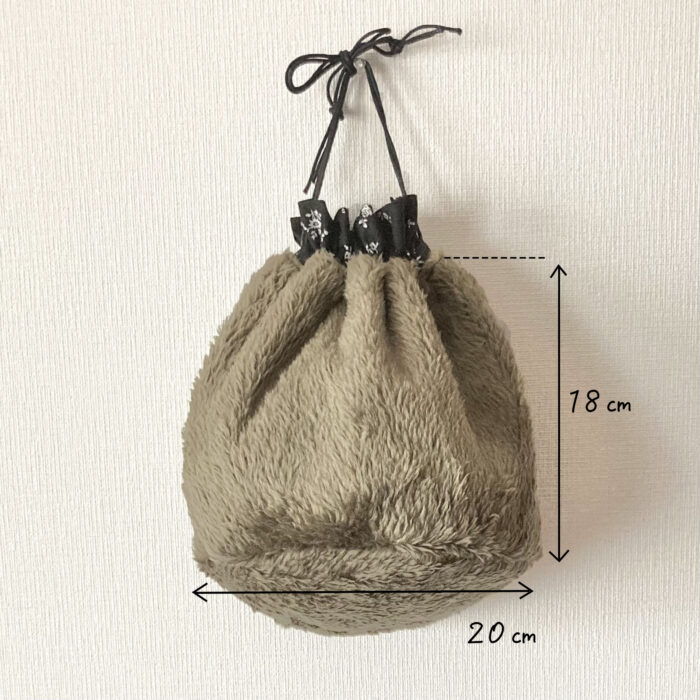
円形の底はぎなので、丸みのあるコロンとした巾着バッグです。
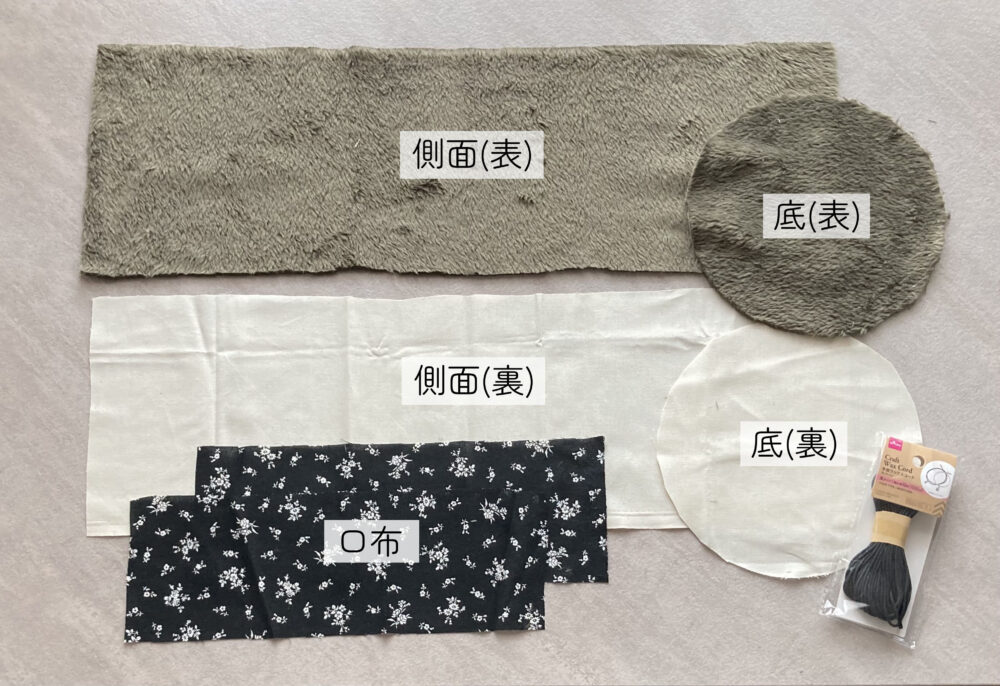
材料
- 底布(直径22㎝)…2枚(表裏)
- 側面(縦20糎×横65㎝)…2枚(表裏)
- 口布(12㎝×34㎝)…2枚
- 紐
作り方
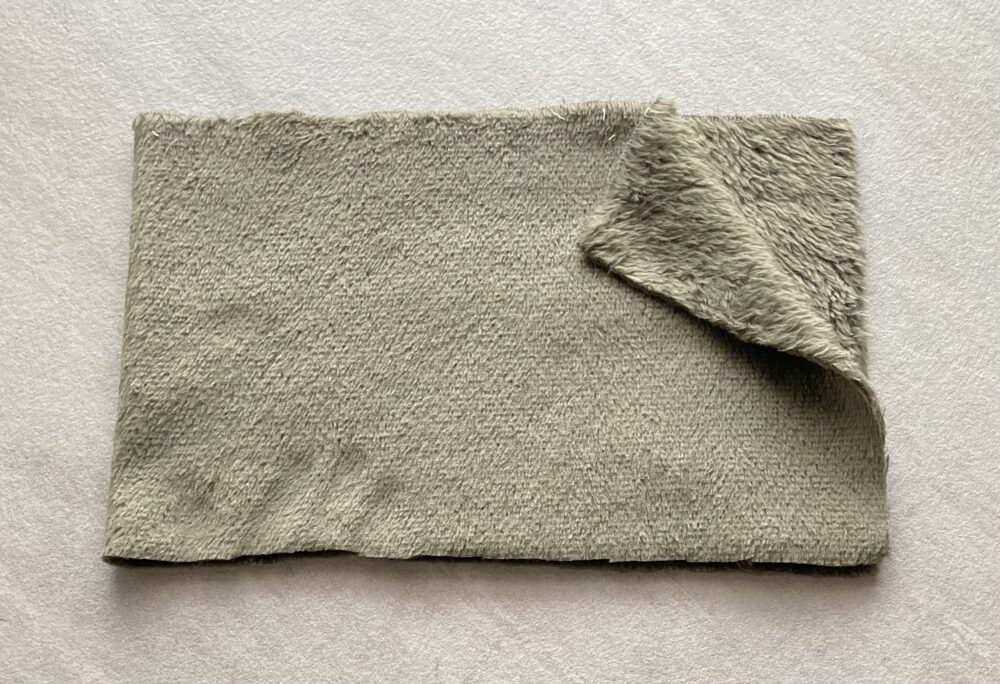
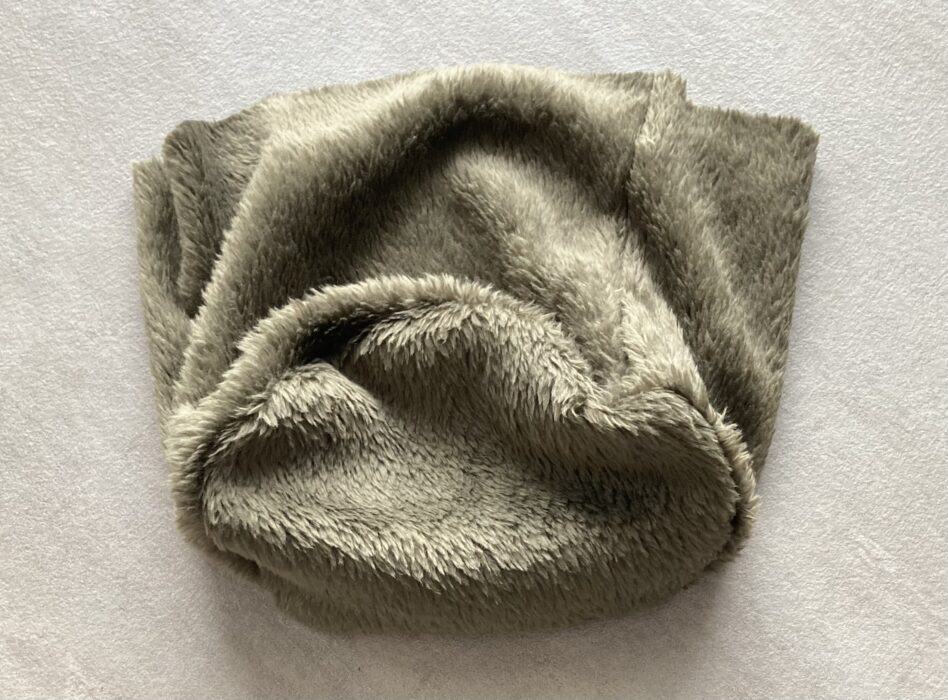
側面を筒状にする
側面用の布(表地)を半分に畳みます。(※表裏のある布の場合はオモテ面が内側になるように)
↓畳んだ状態で、合わせた短辺を縫い代1㎝で縫い合わせます。
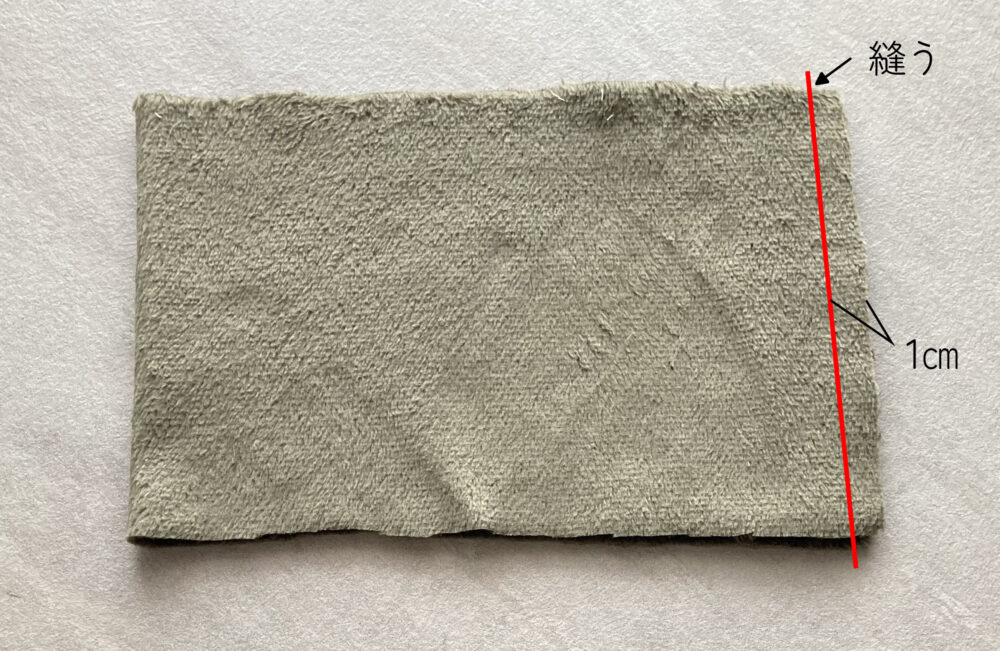
これで布が筒状になりました。
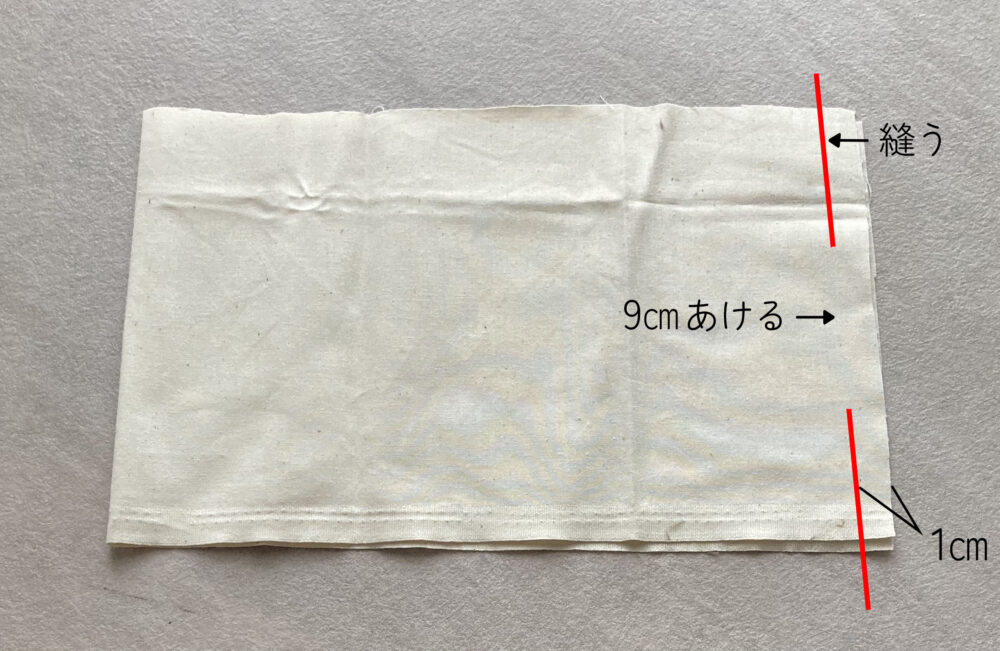
↓裏地も同様に二つ折りにして短辺を縫い合わせます。
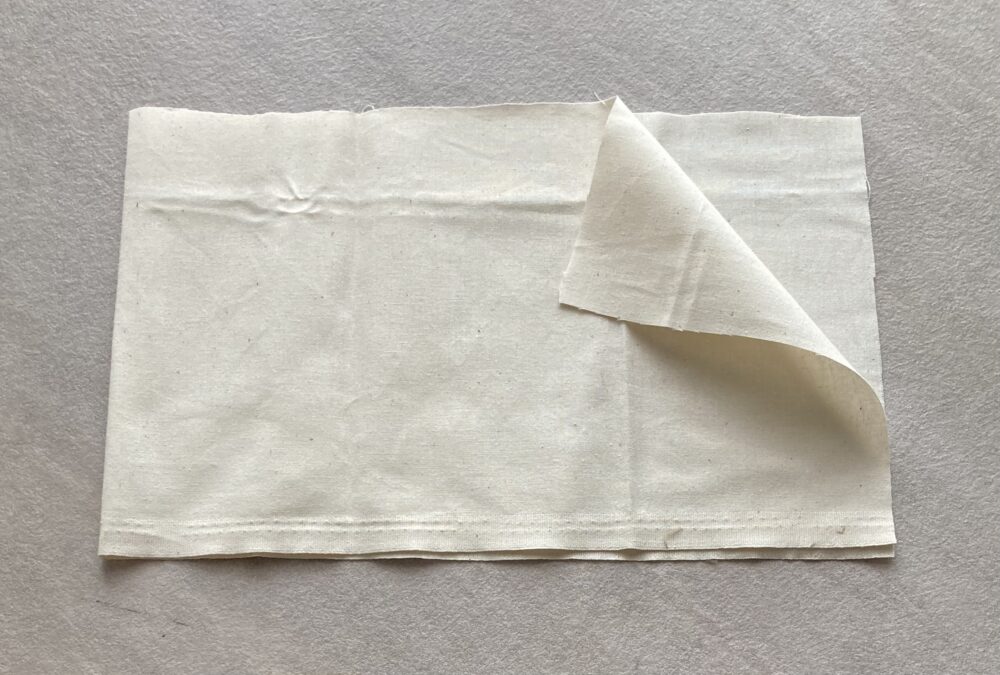
この時に、真ん中9㎝は縫わずに空けておきます。ここが後で使う返し口になります。
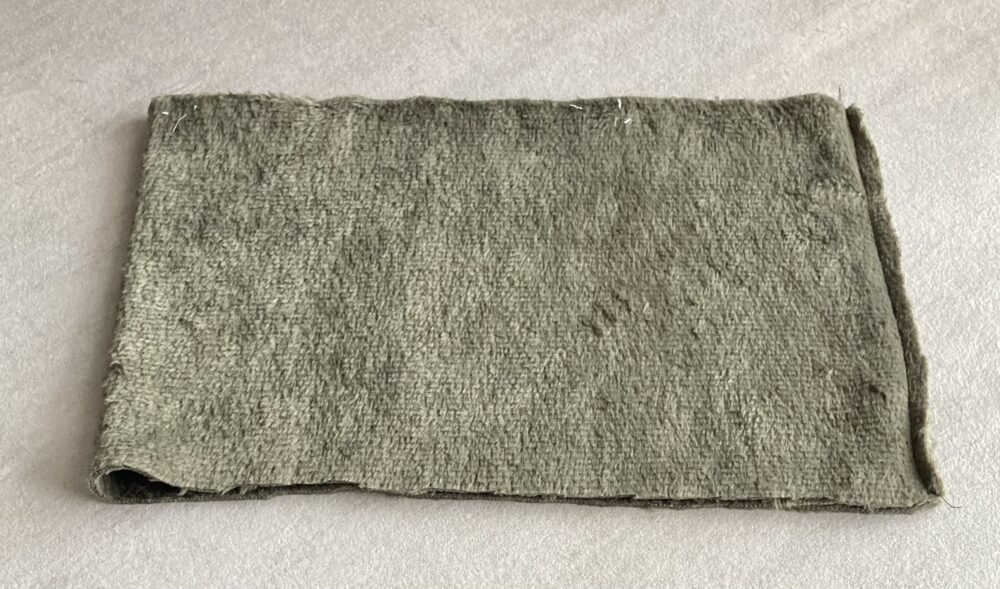
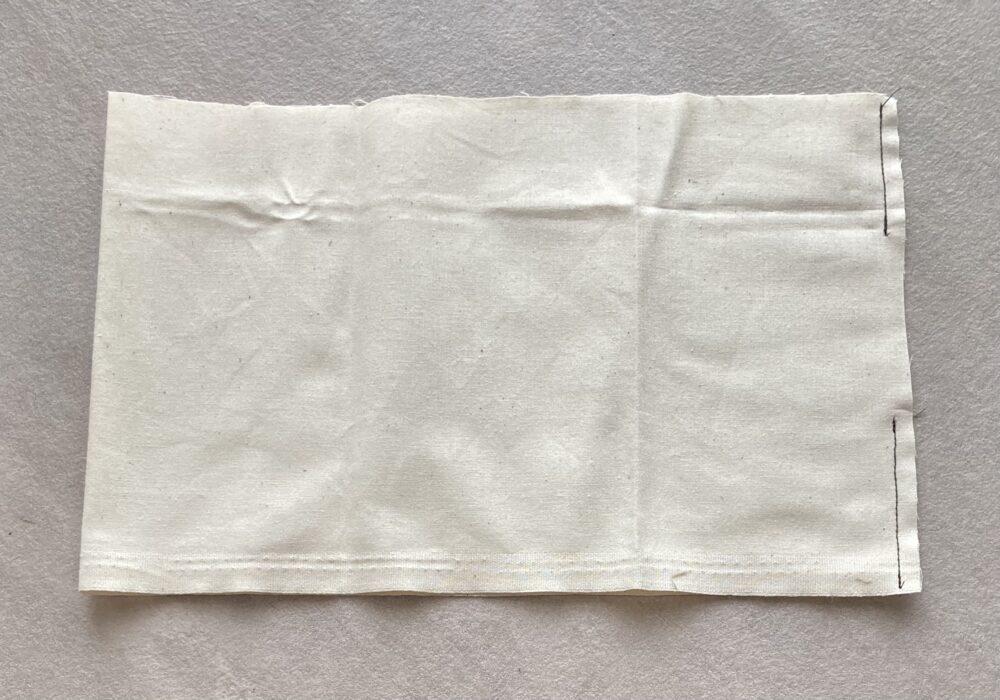
↓縫ったあと。
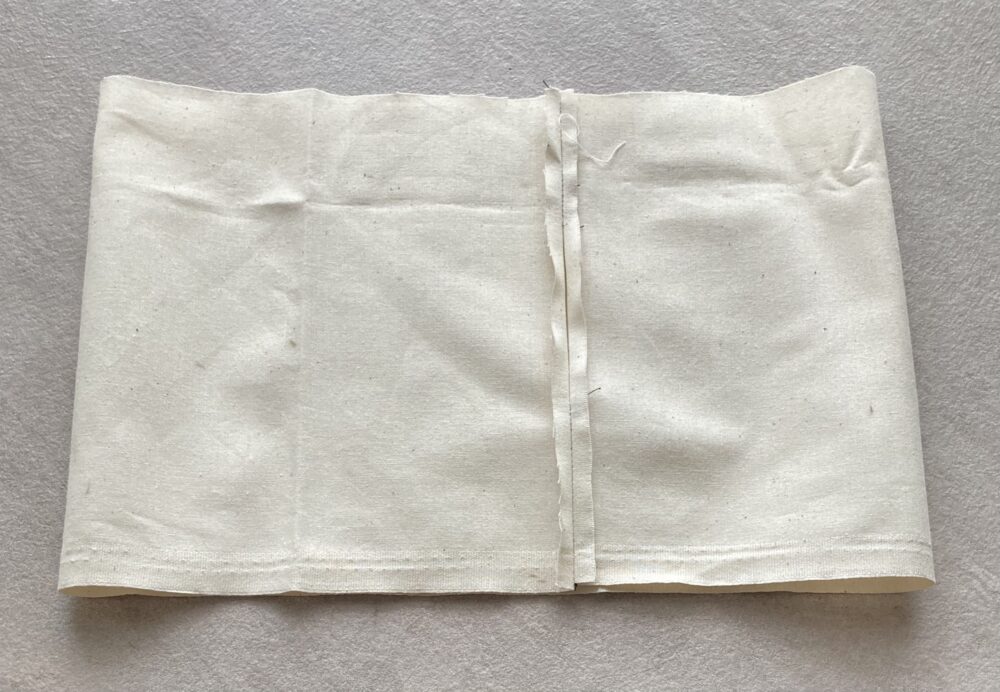
↓裏地は縫い代を割っておきます。
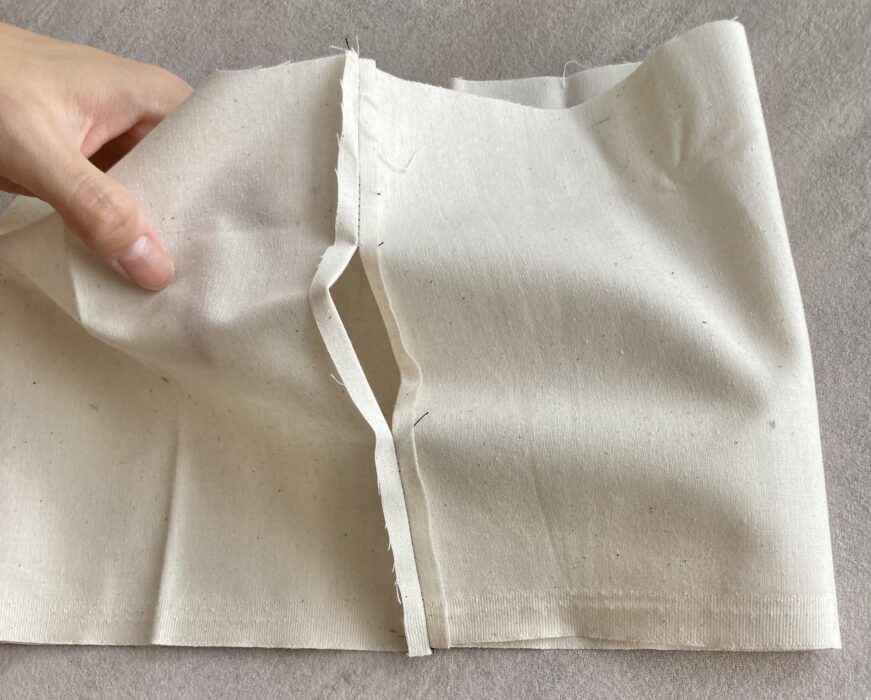
↓返し口の部分はアイロンでしっかり外側に1㎝折ります。こうすることで、後の処理がラクになります。
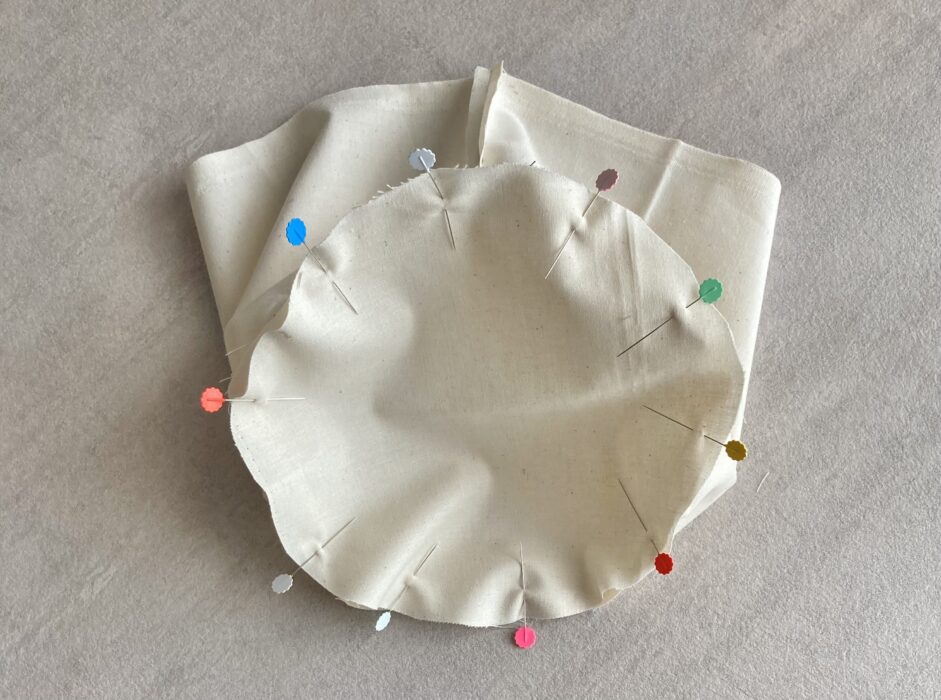
底を繋ぎ合わせる
側面と底を待ち針で固定します。この時に表裏のある布の場合はオモテ面同士が合わさるように留めます。
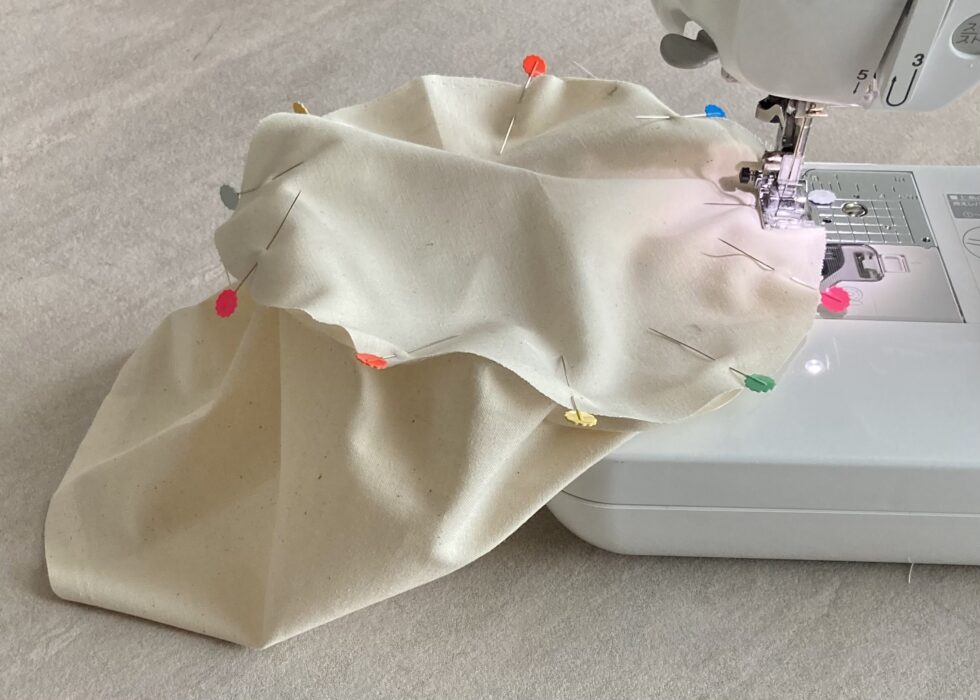
底の縁を縫い代1㎝でぐるりと一周縫い合わせます。
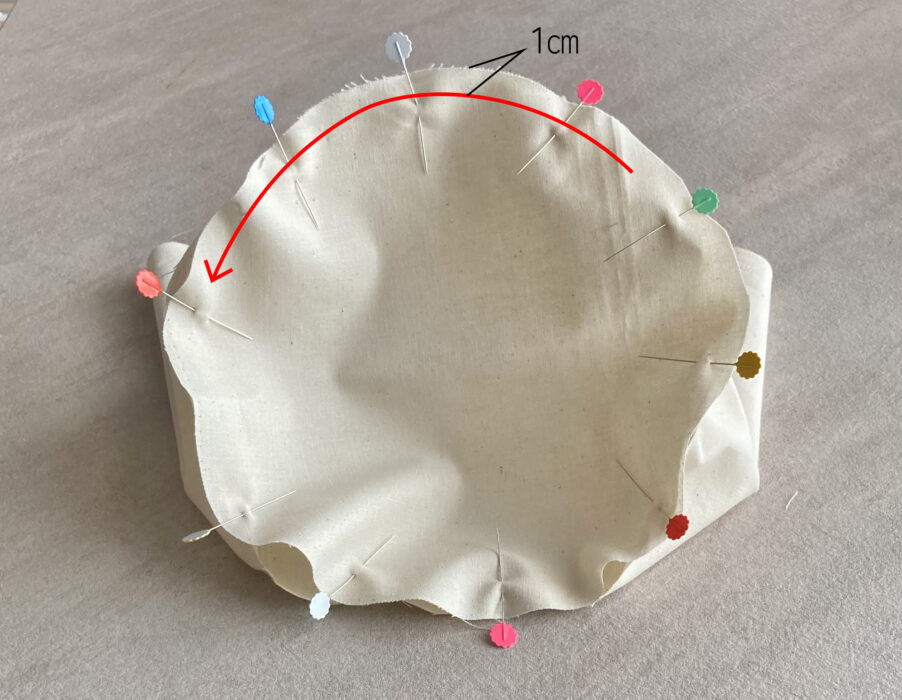
側面を上にして縫った方が布を巻き込みにくくて良いのですが、縫いやすい方が上でOK。
↓縫ったあと。
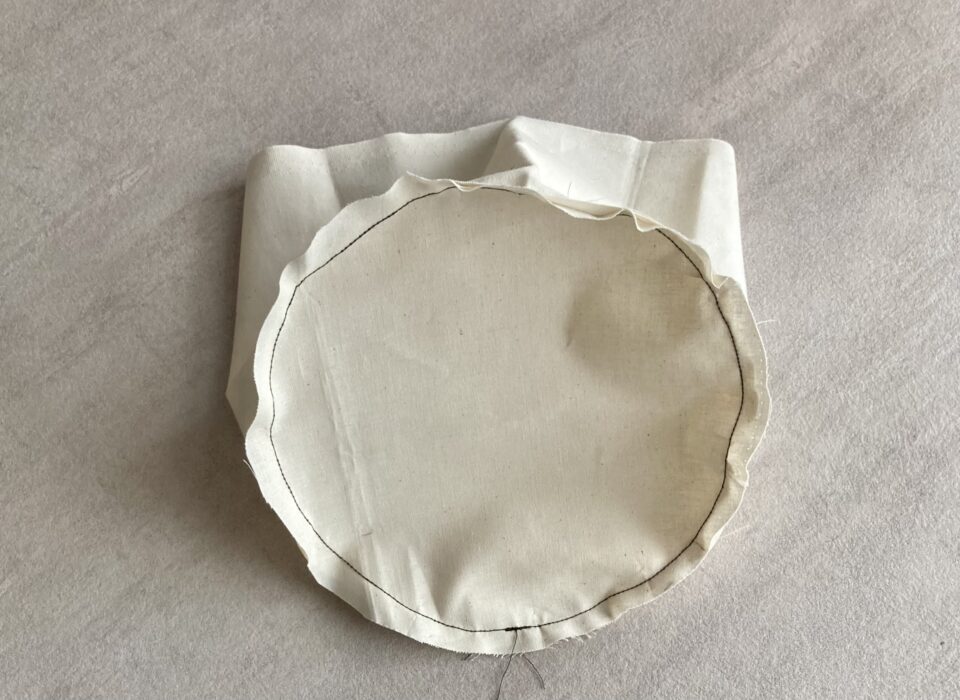
↓側面の縫い代は開いた状態で縫っています。

↓同様の手順で、表地も側面と底を縫い合わせておきます。
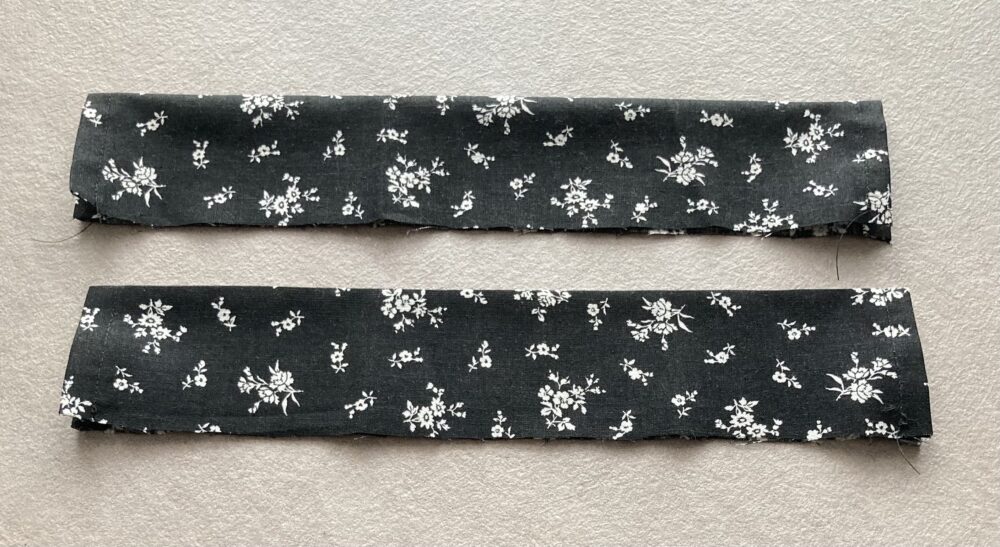
口布を作る
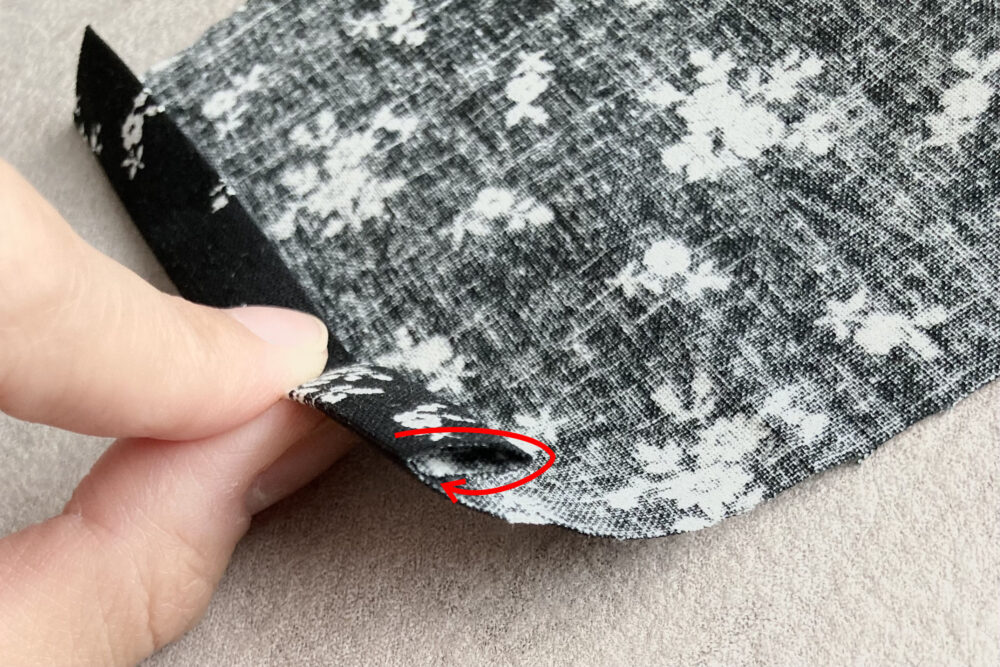
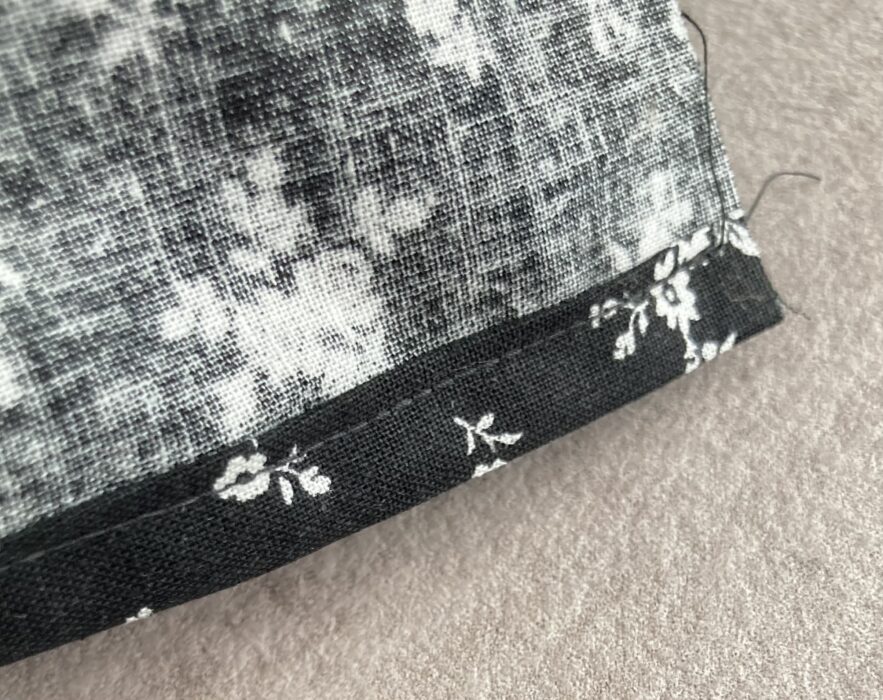
口布の短辺を三つ折りにします。
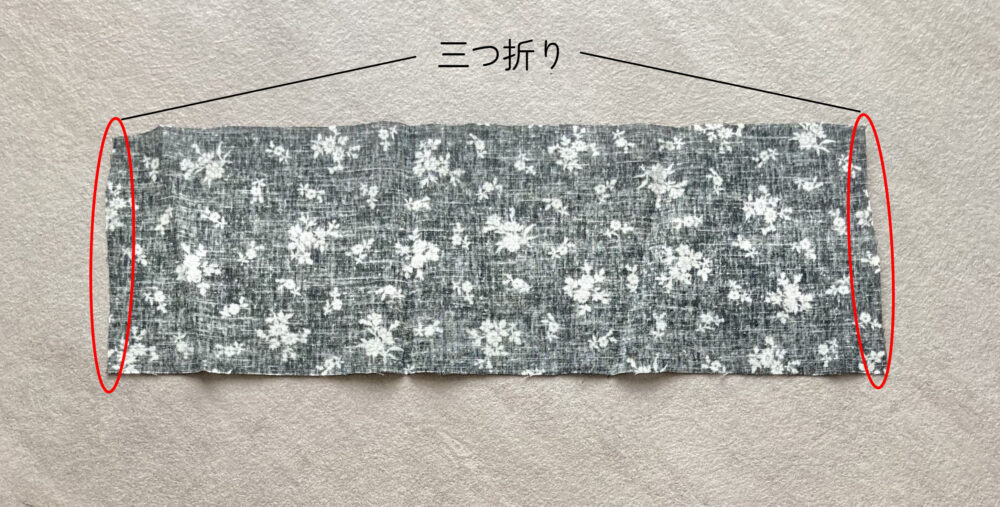
まず裏側に向かって1㎝折り、更に1㎝折ったら三つ折りの出来上がりです。布端が包まれて隠れた状態になっています。
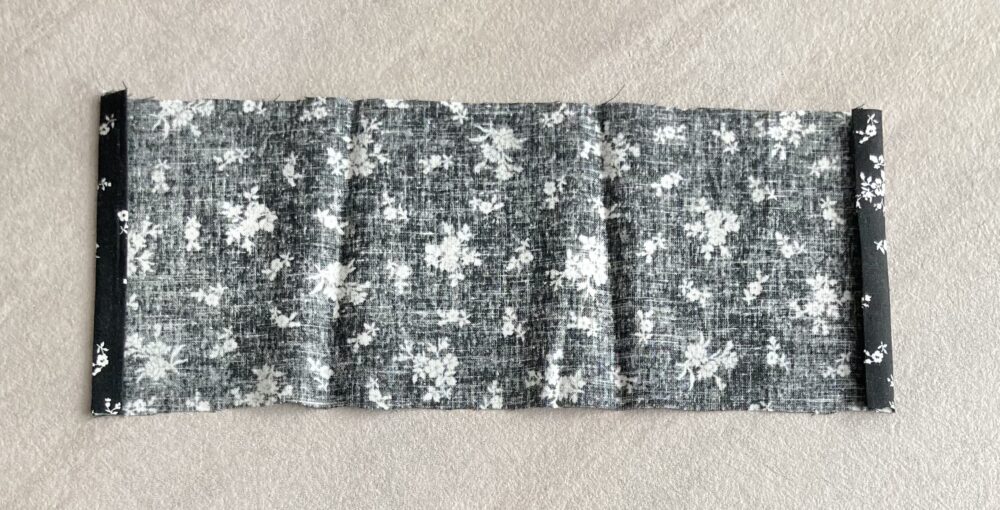
↓折り目を押さえるように真っ直ぐ縫います。(※できるだけ折り目の内側の方で縫う)
↓縫ったあとの写真。
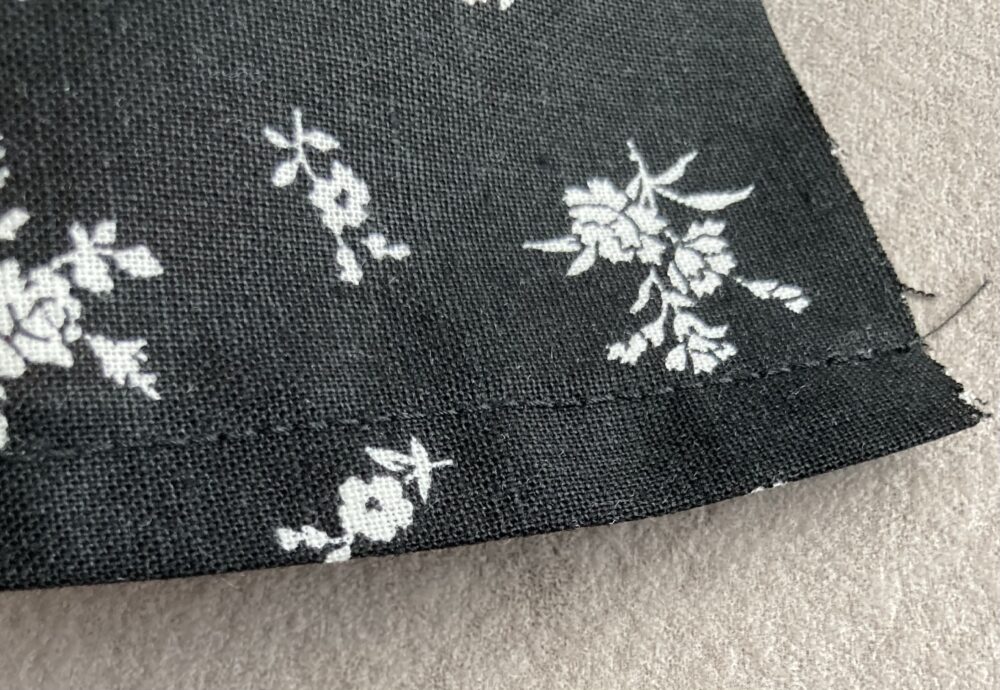
反対側の端も同様に縫ったら、オモテ面を外側にして半分に畳みます。
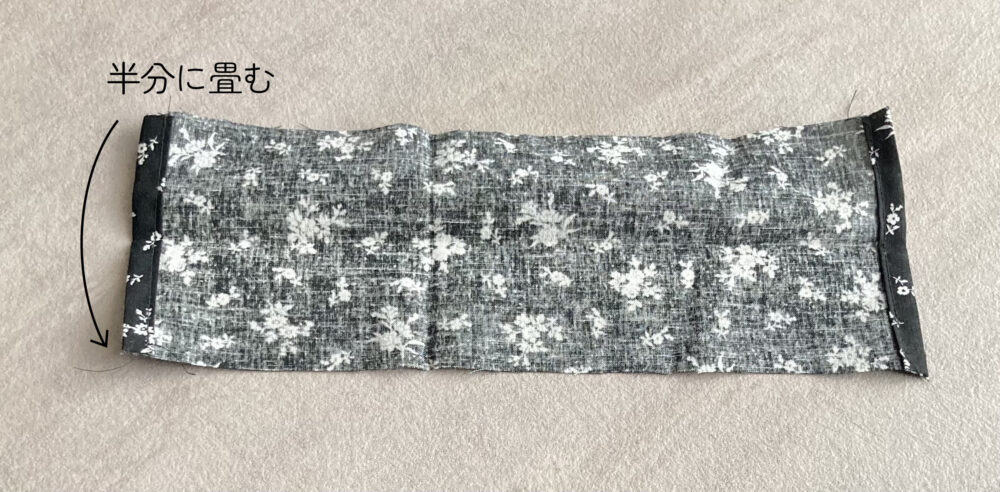

これで口布の出来上がりです。残りの一枚も同様に作っておきます。
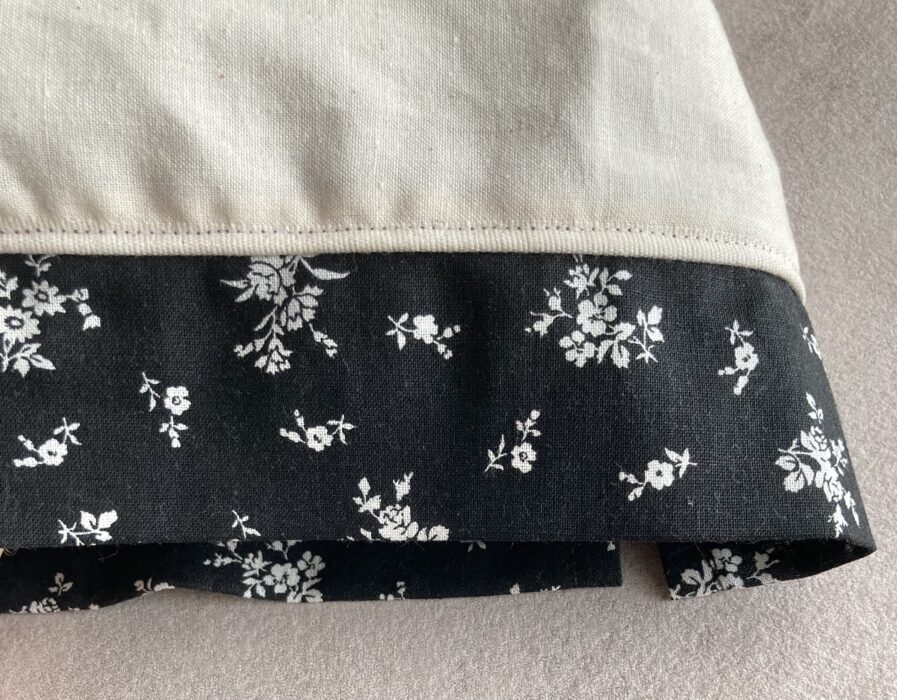
口布と本体を合わせる
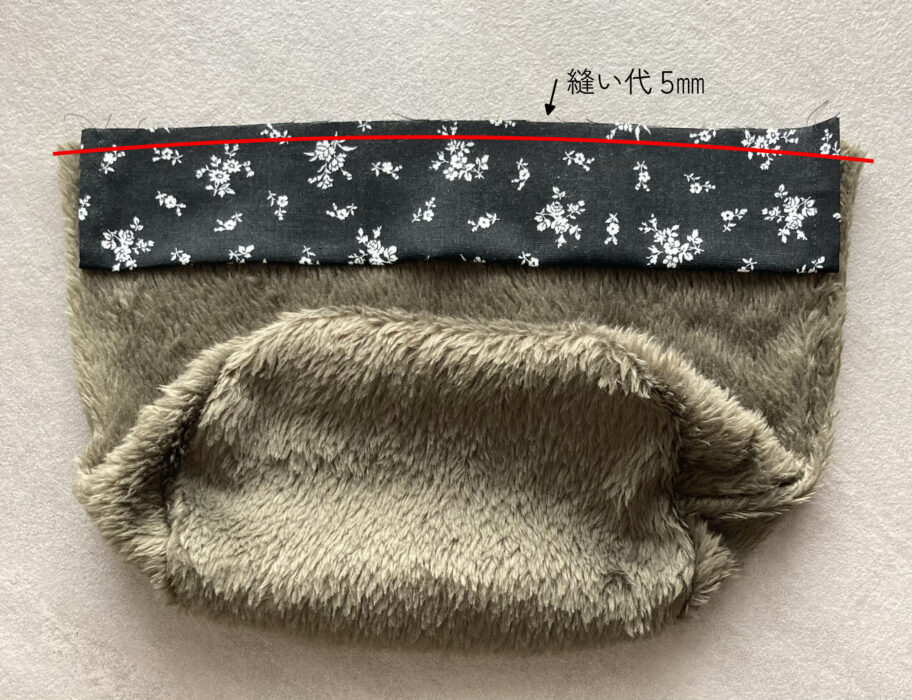
本体の表地を、オモテに返します。
表地の上部に口布を重ねます。
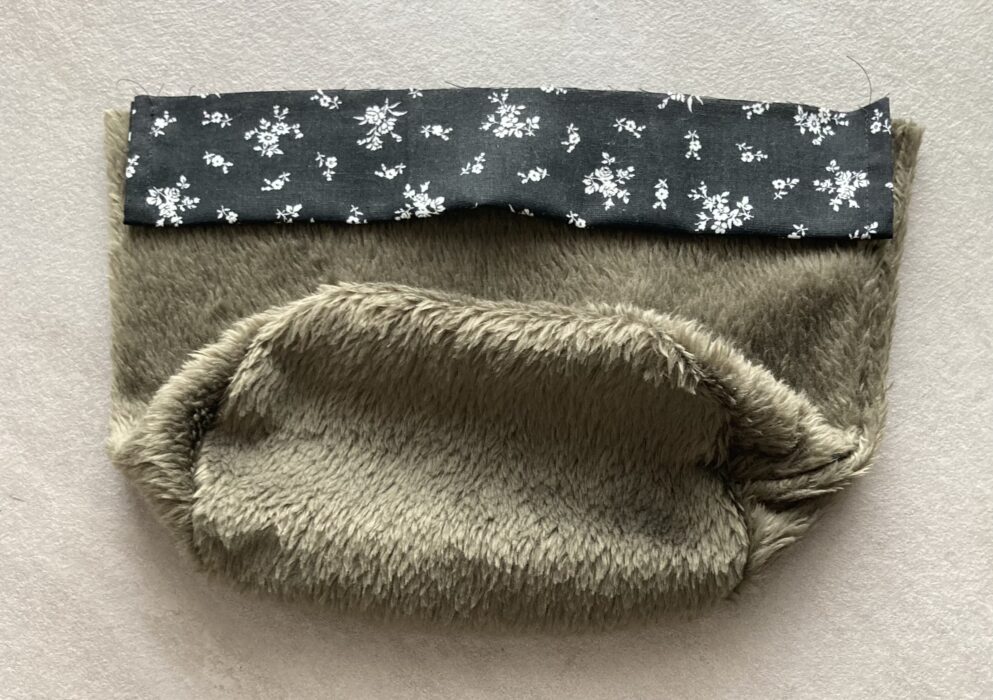
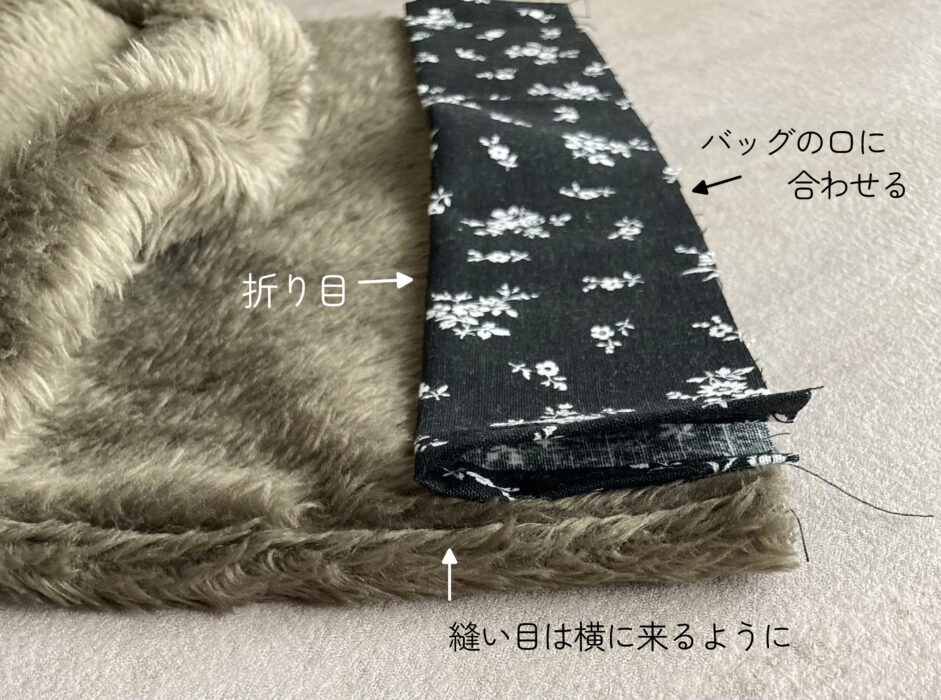
※この時に、表地の側面の縫い目がサイドに来るようにしておくと完成時に縫い目が目立ちにくくなります。口布の折り目をバッグの底側に向け、バッグの口に合わせて重ねます。
袋口を縫い代5㎜で縫って口布を仮止めします。
↓口布の仮止め完了。
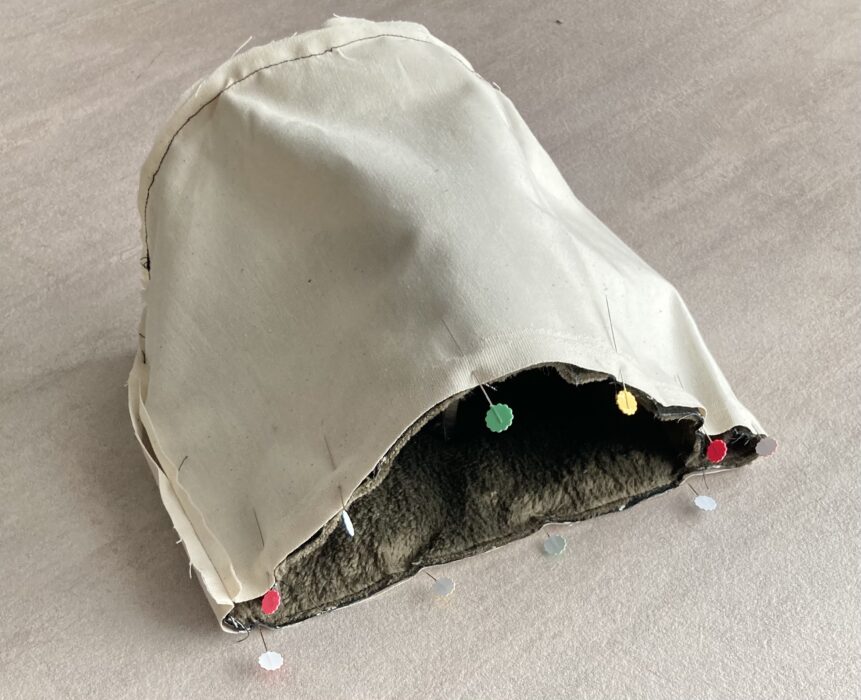
表地を裏地の中に入れます。
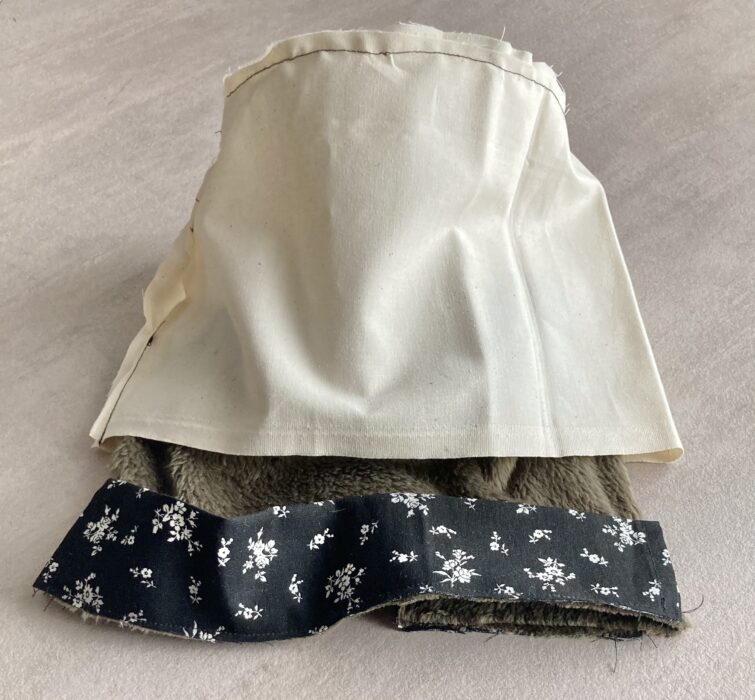
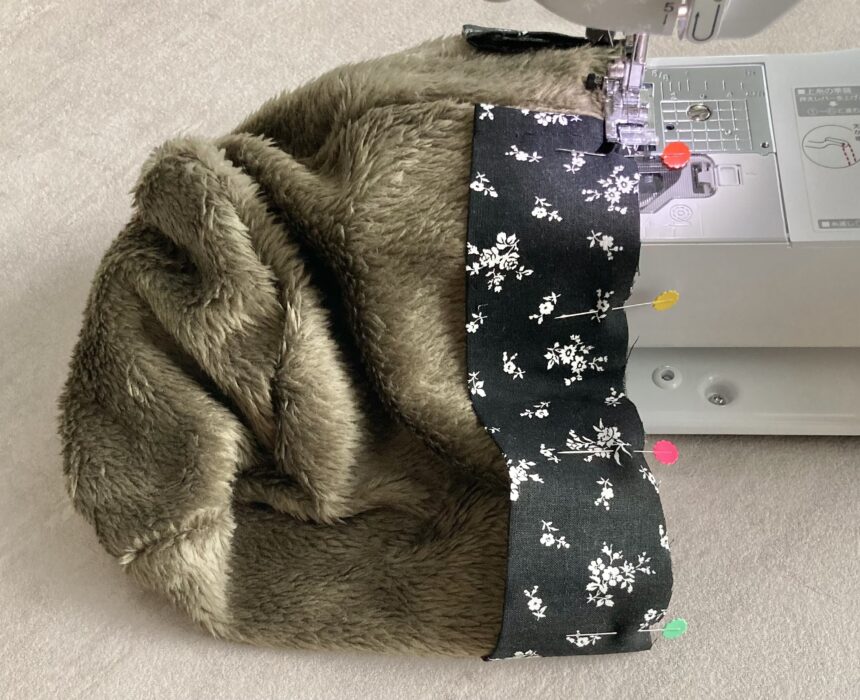
袋口を合わせて待ち針などで固定します。
袋口を縫い代1㎝でぐるりと一周縫い合わせます。
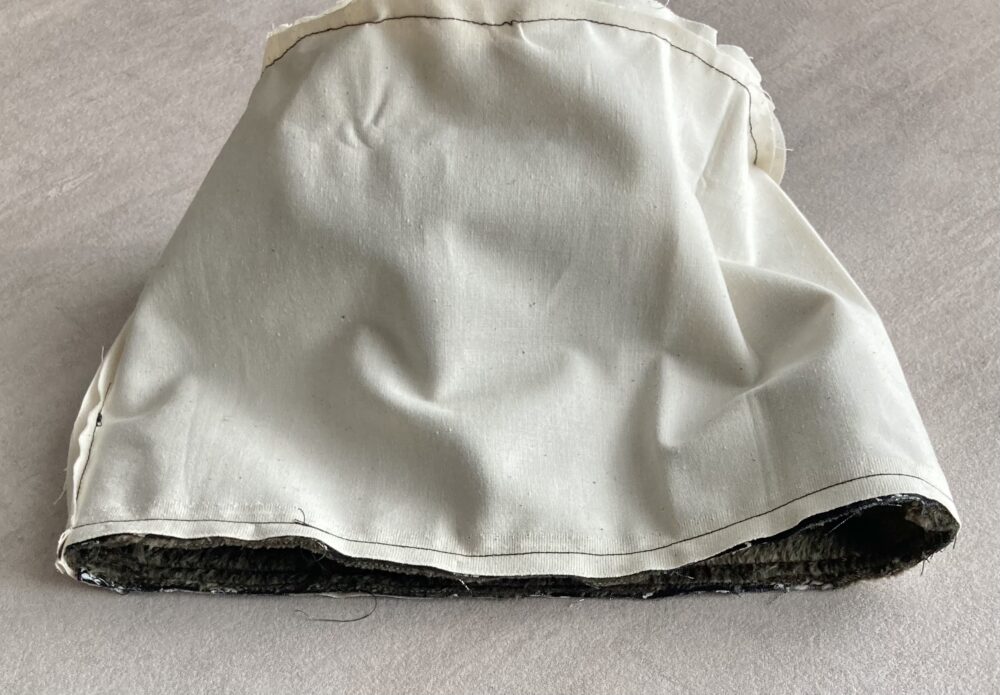
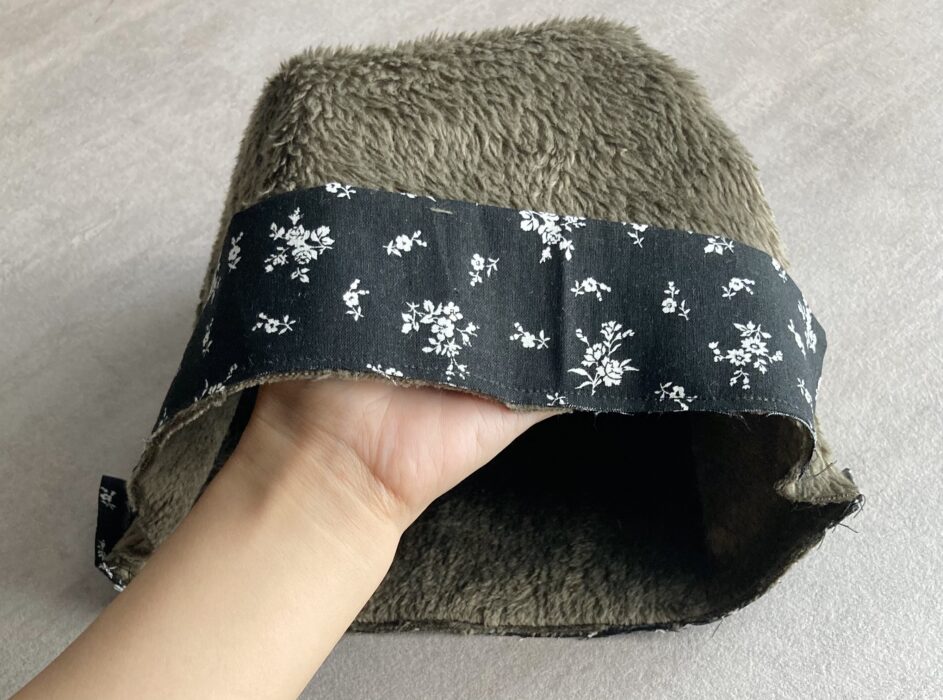
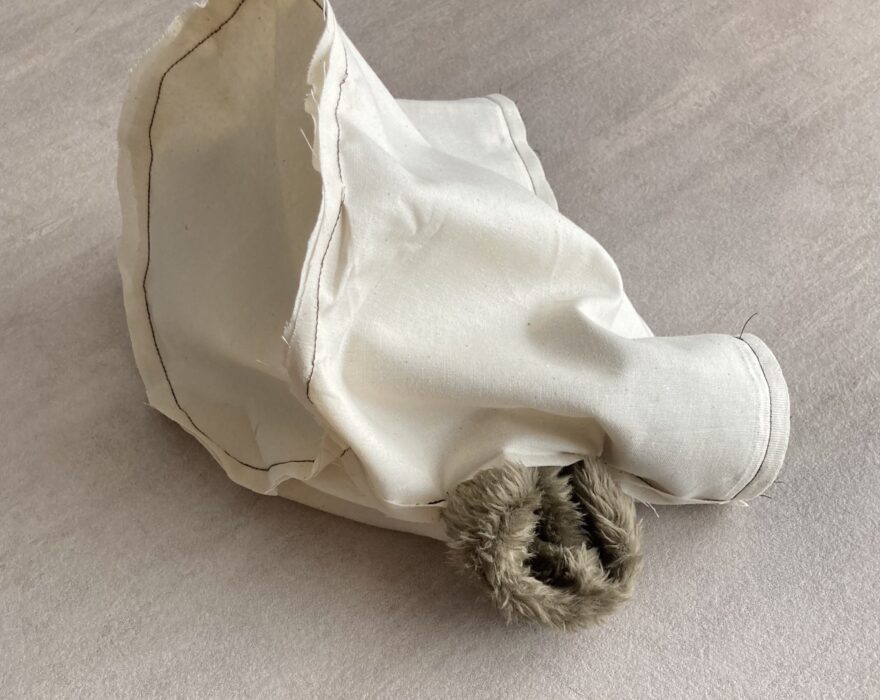
表に返す
返し口から布を引き出して表に返します。
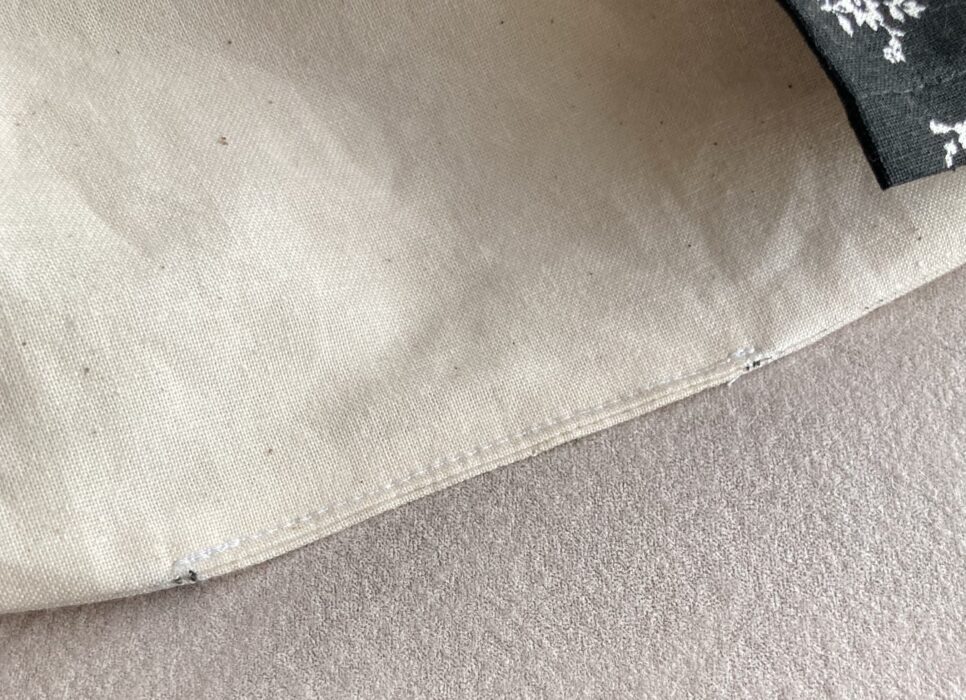
返し口を閉じる
返し口を手縫いで『コの字とじ』するか、ミシンで縫って閉じます。
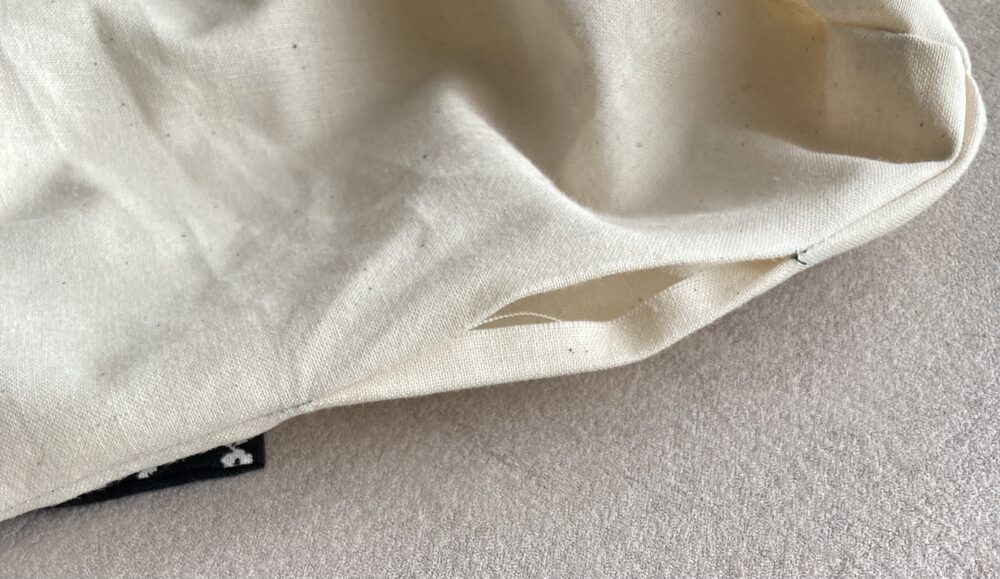
ミシンの場合
ミシンで閉じる場合は生地端ギリギリの所をまっすぐ縫うだけです。
裏地なので縫い目が目立ちません。
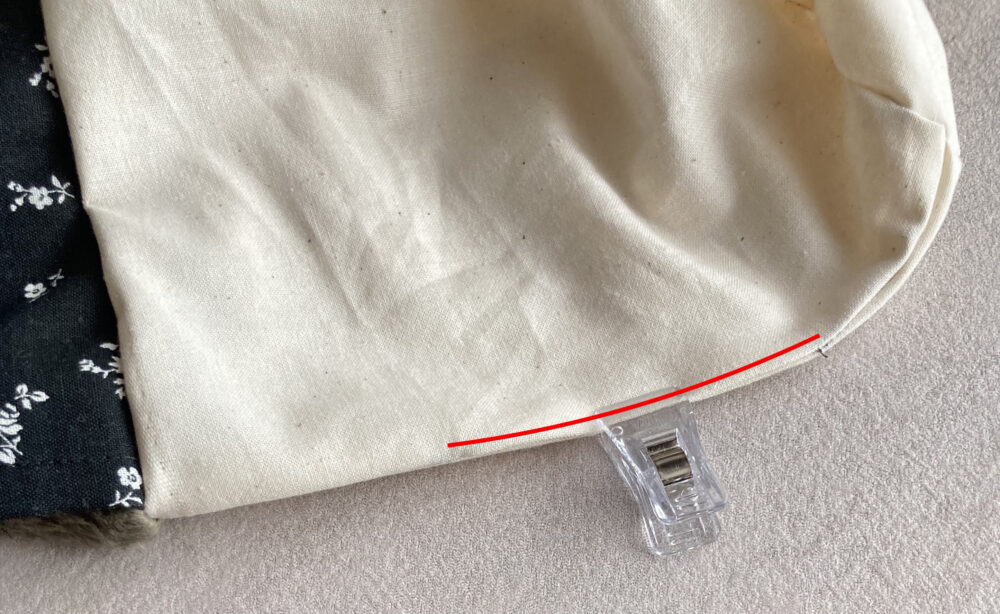
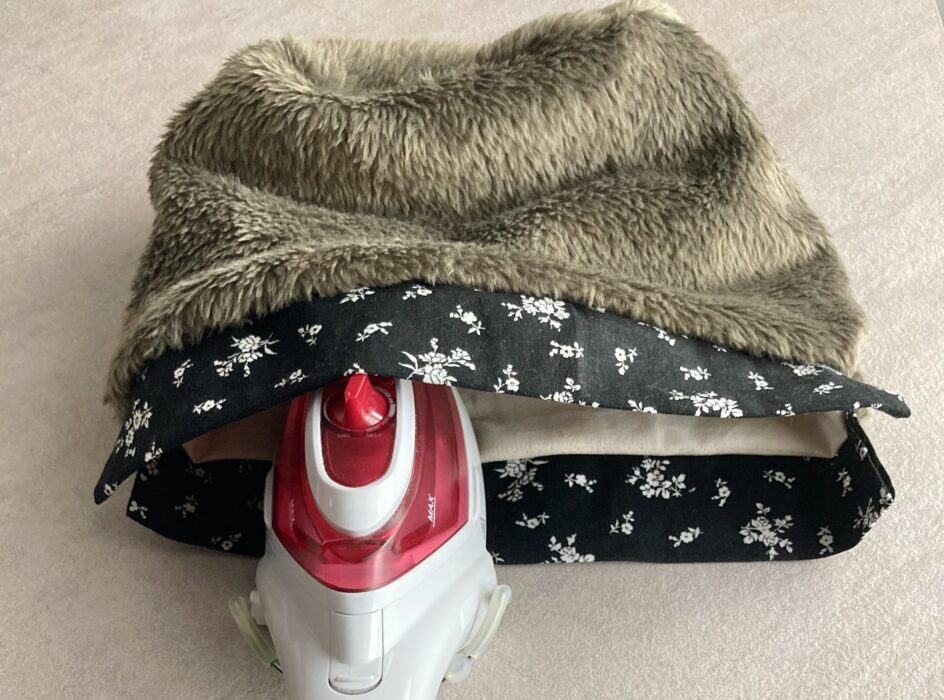
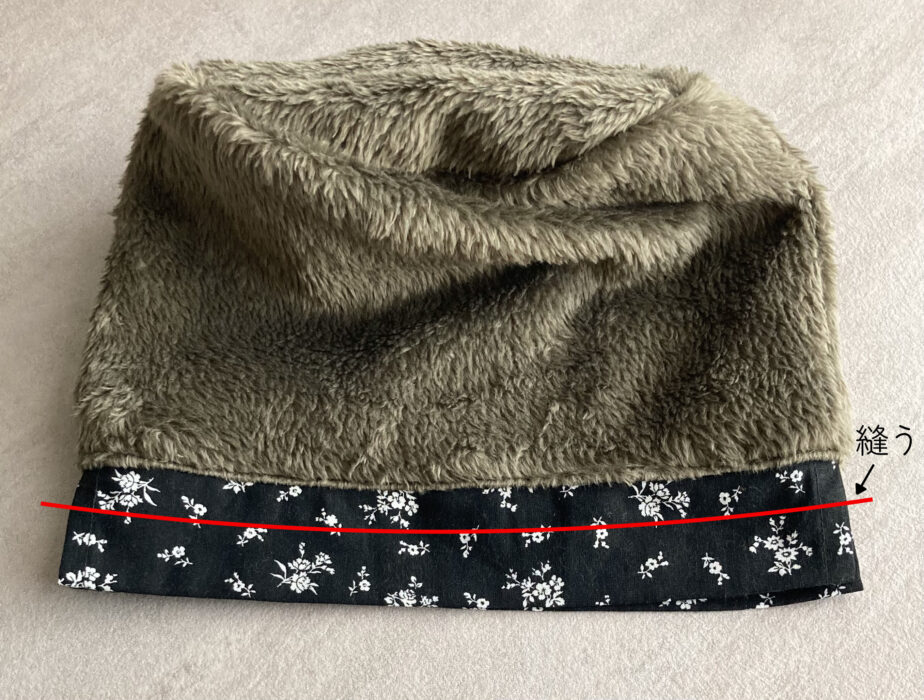
一周縫う
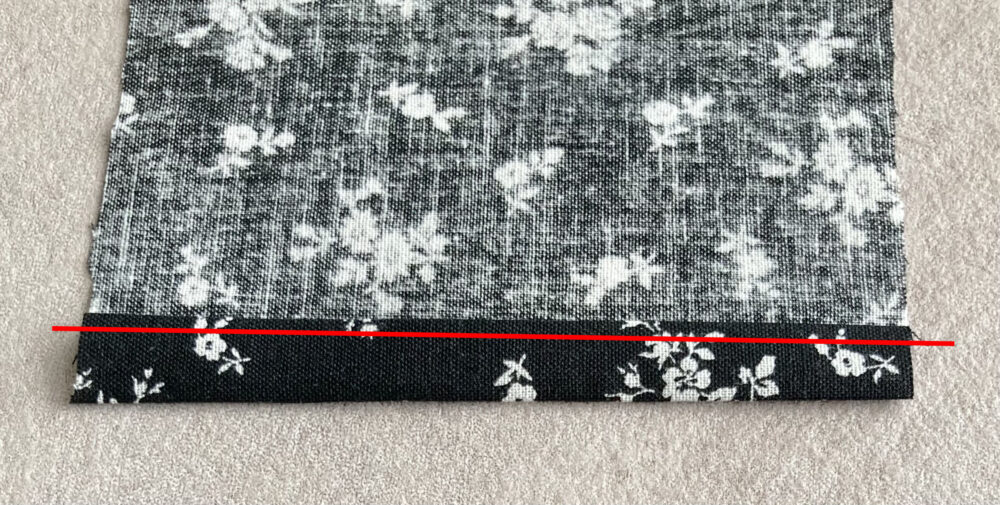
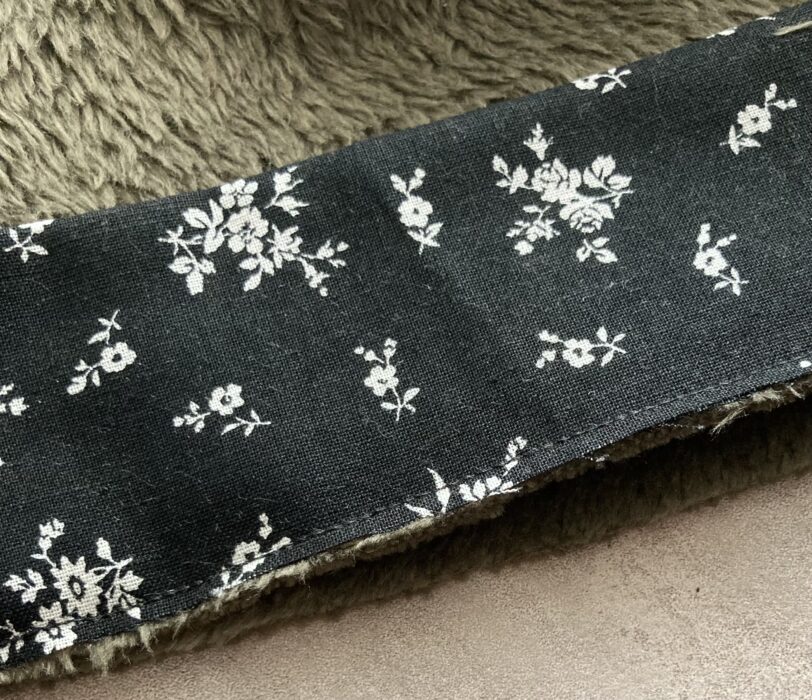
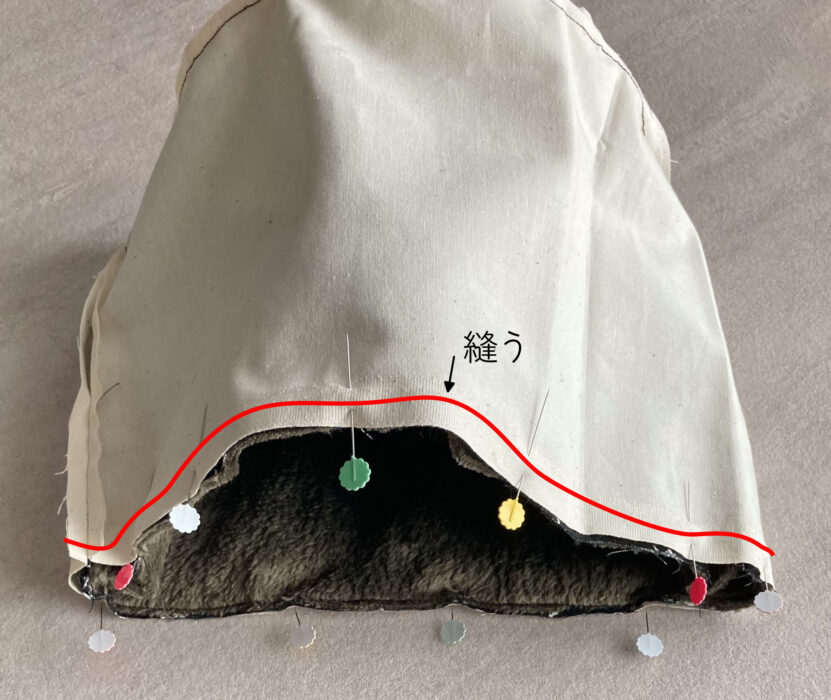
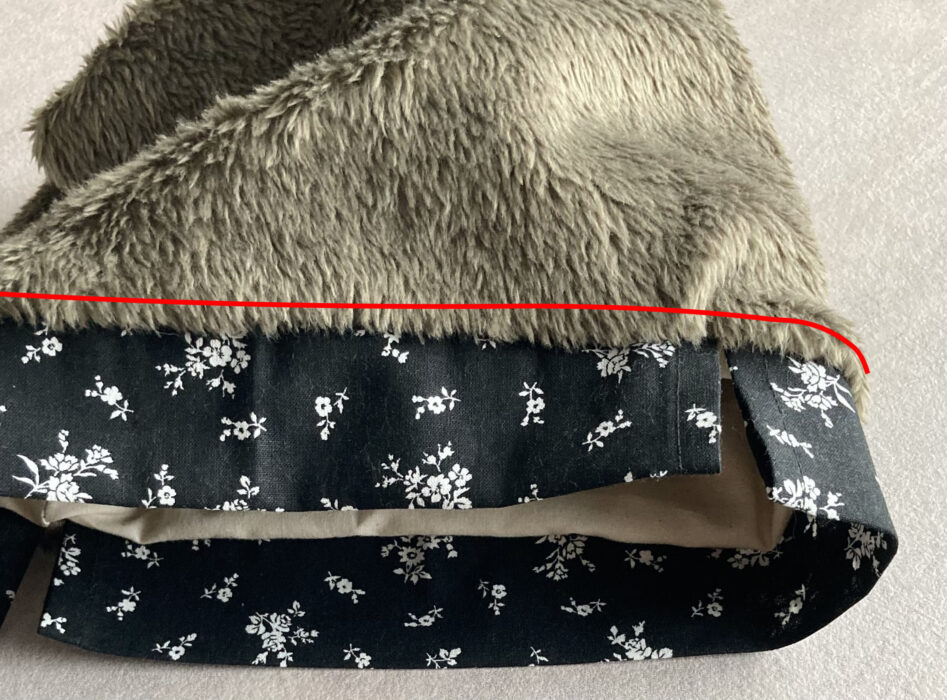
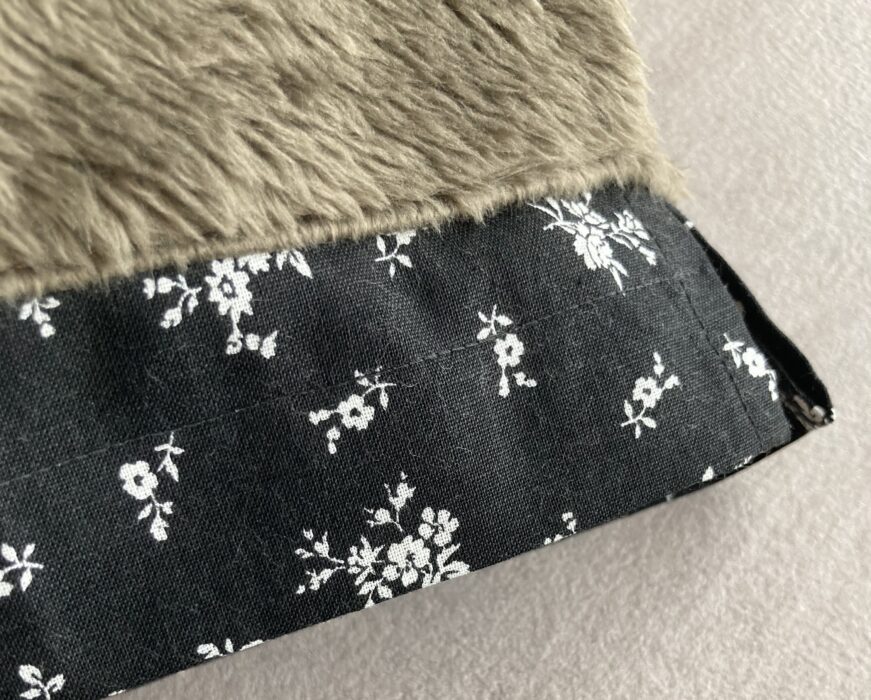
裏地を中に入れたら、裏地と口布の境目の盛り上がっている部分をたいらに整えます。
↓口布の下(赤線部)をぐるりと一周縫います。
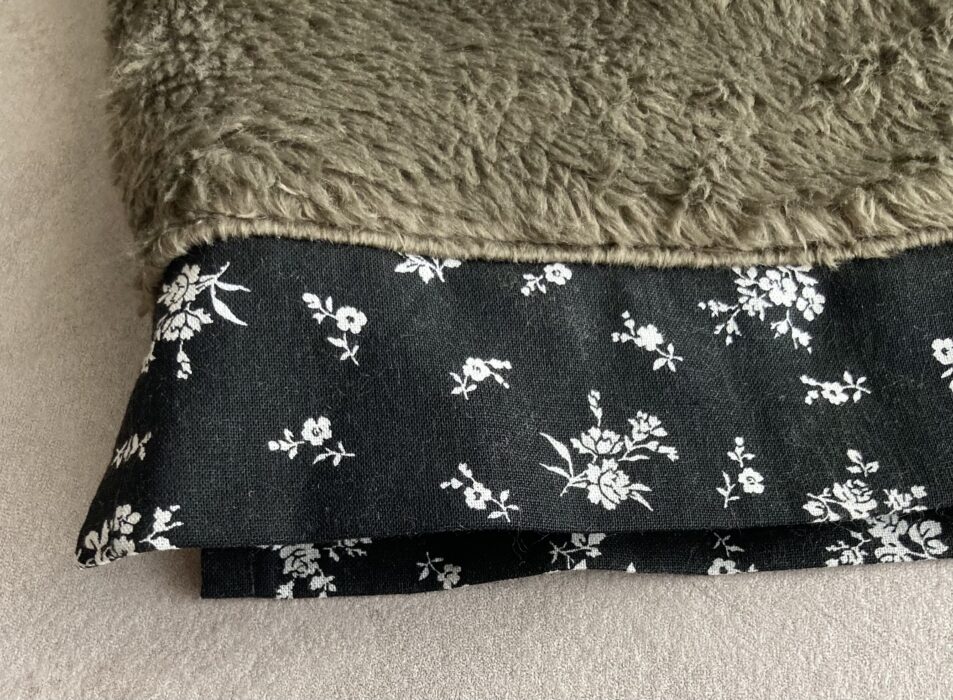
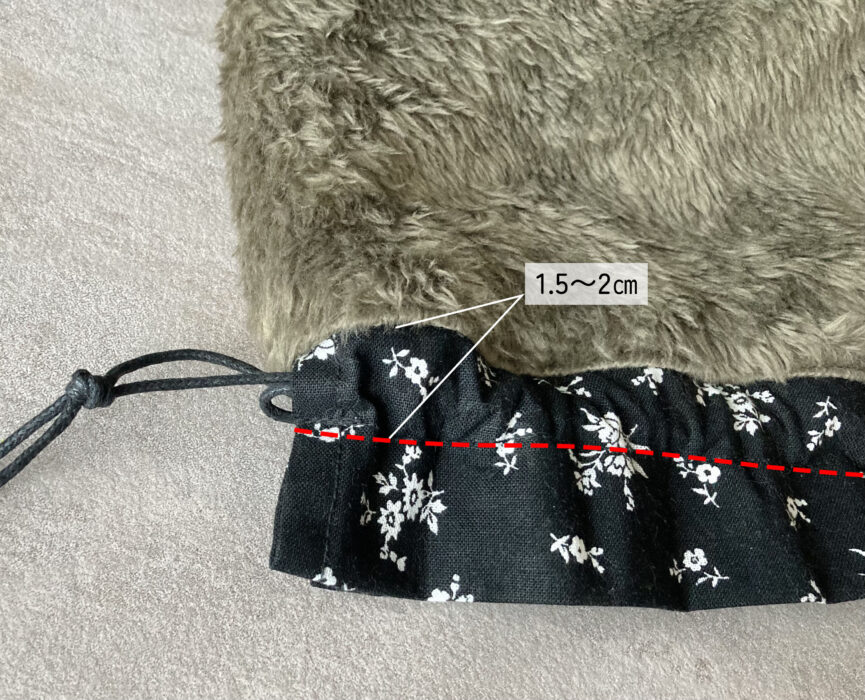
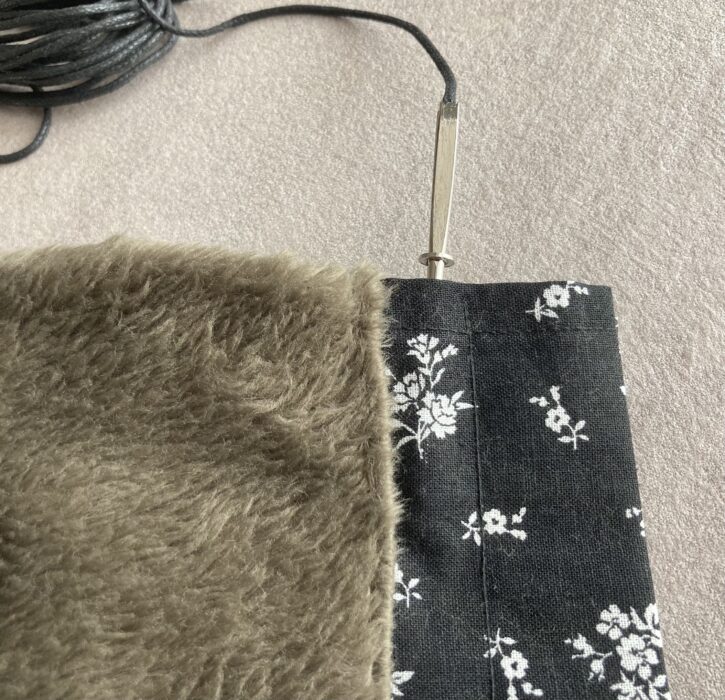
紐通し口を作る
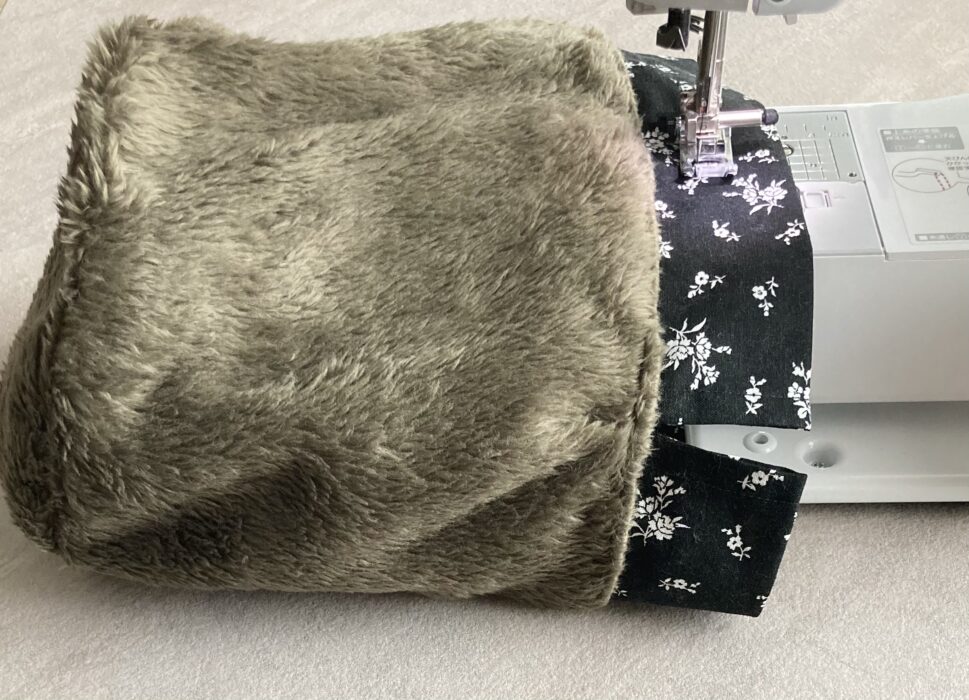
口布をまっすぐ縫って紐の通り道を作ります。
※幅は、使用する紐の太さにもよりますが、1.5〜2㎜程度が目安。
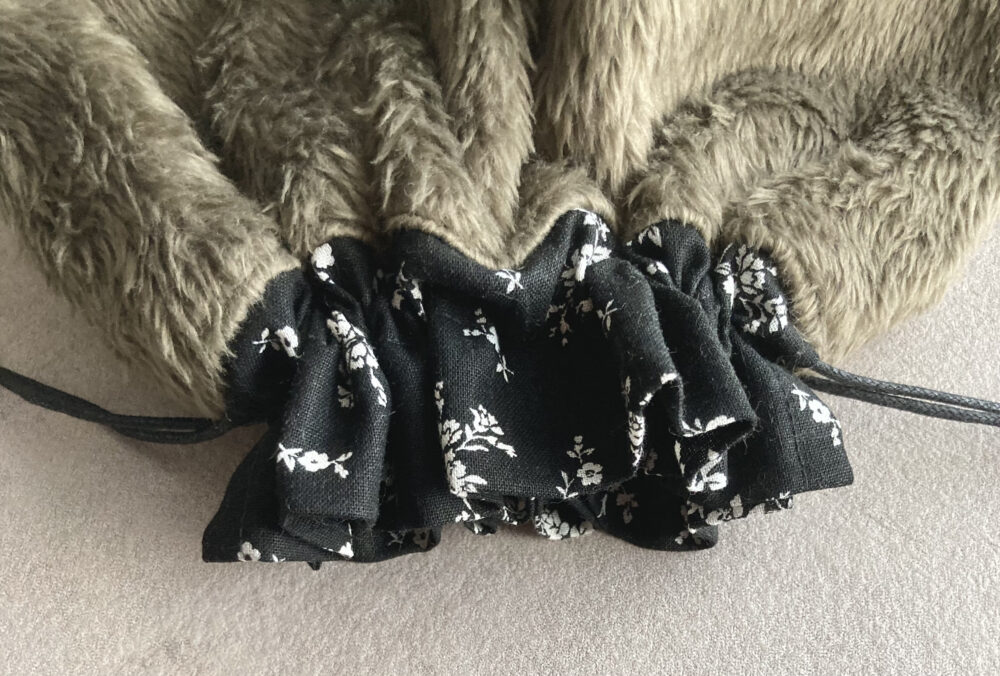
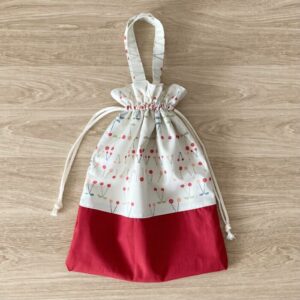
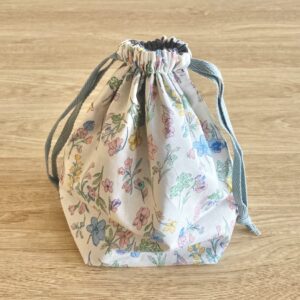
紐を通して完成
両側の紐通し口からそれぞれ紐を通して結べば完成です。

最後に
丸底のボア巾着バッグの作り方をご紹介しました。バッグのレシピはこちらも参考にどうぞ↓

巾着のレシピ↓
他にもレシピを多数掲載中♪
