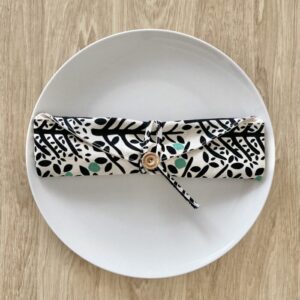
お箸やスプーンをまとめてテーブルに置けるカトラリーケースの作り方をご紹介します。サッと持ち運べて便利ですよ。
テーブルに置けるカトラリーケースの作り方( 布製 )
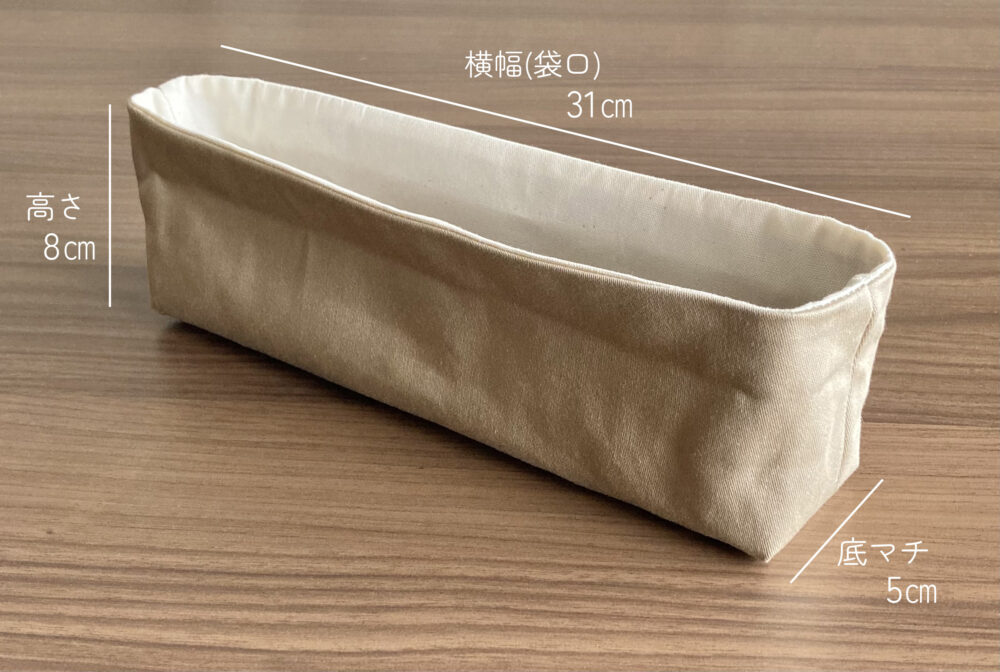
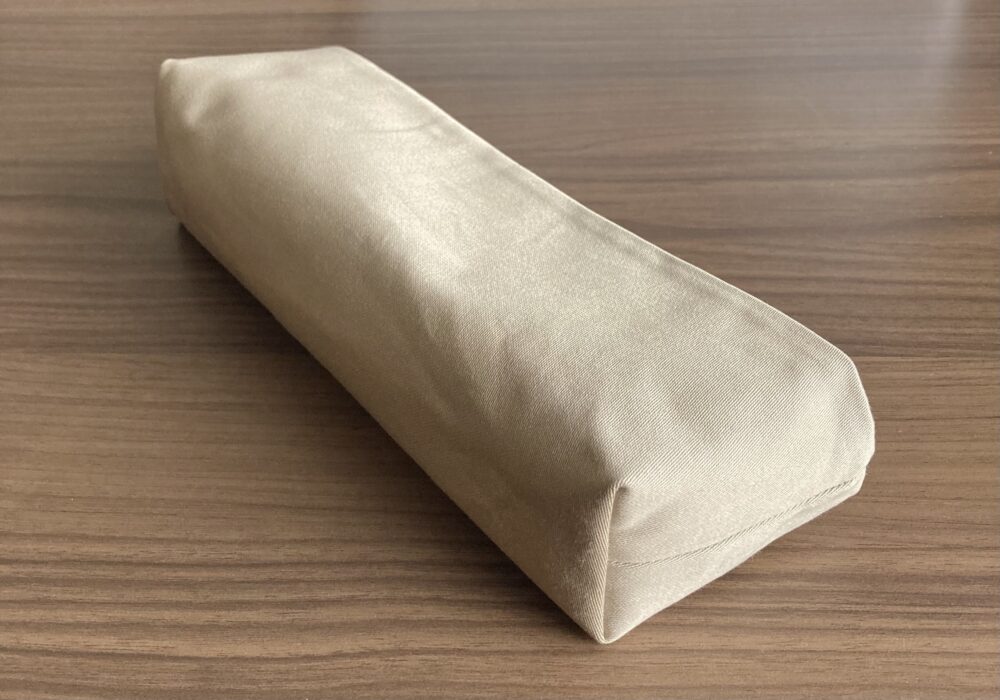
完成サイズ
※口を折り返さない状態
完成サイズは高さ8㎝×横(袋口)31㎝×底マチ5㎝。
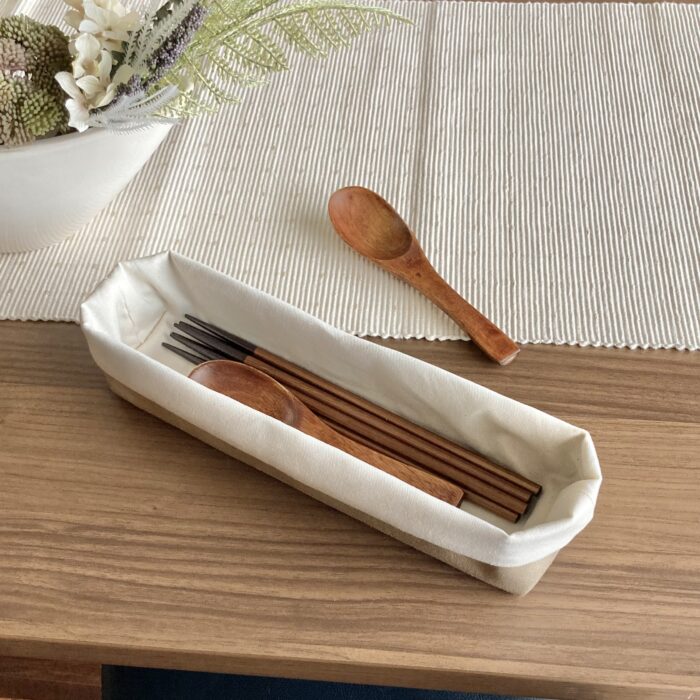
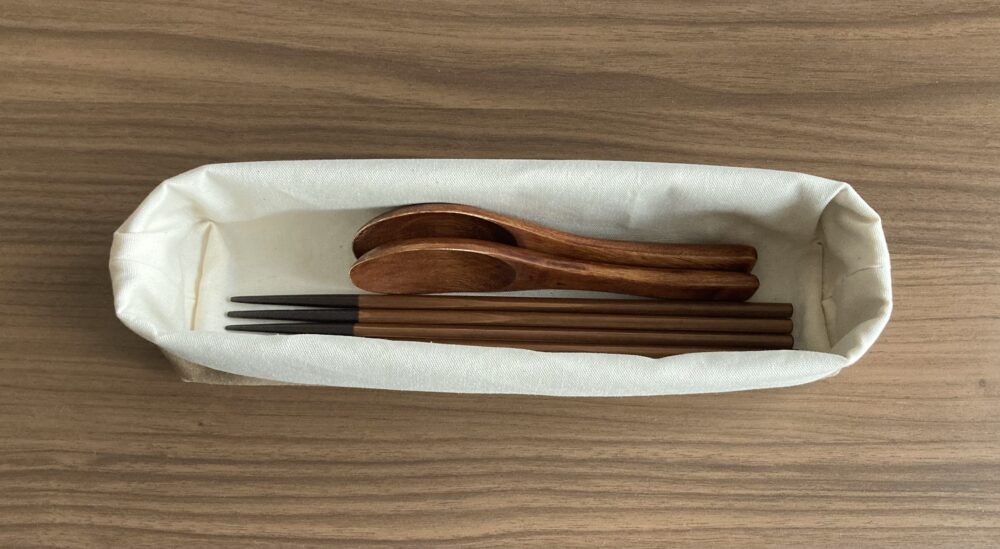
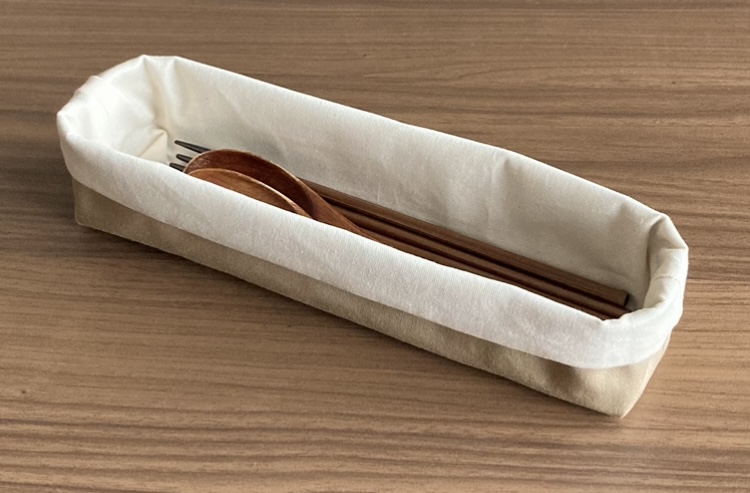
↓大人用のスプーンとお箸を入れた写真です。
材料
用意する布
- 表地(縦23㎝×横33㎝)…1枚
- 裏地(縦23㎝×横33㎝)…1枚
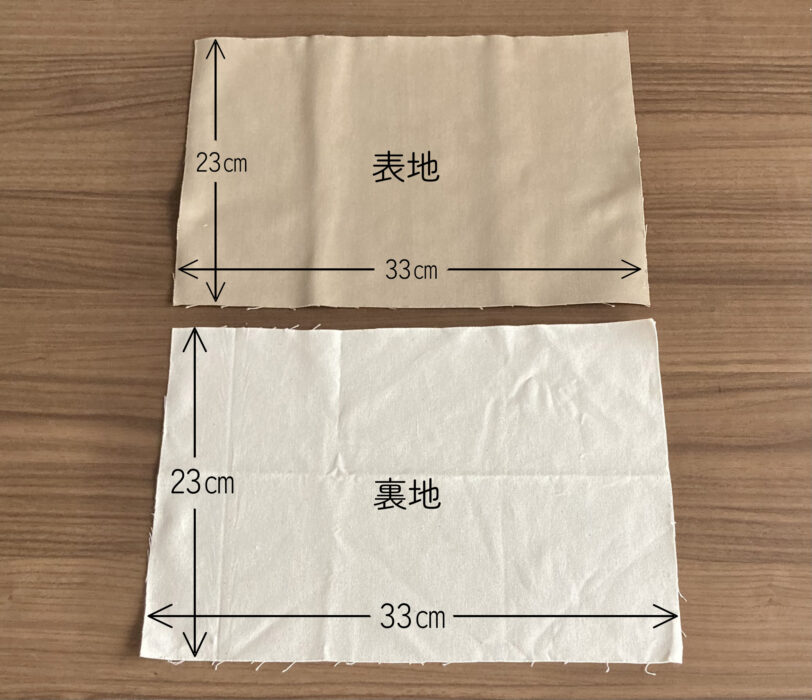
表地・裏地のいずれか片方だけでも厚地にするのがオススメです。
作り方
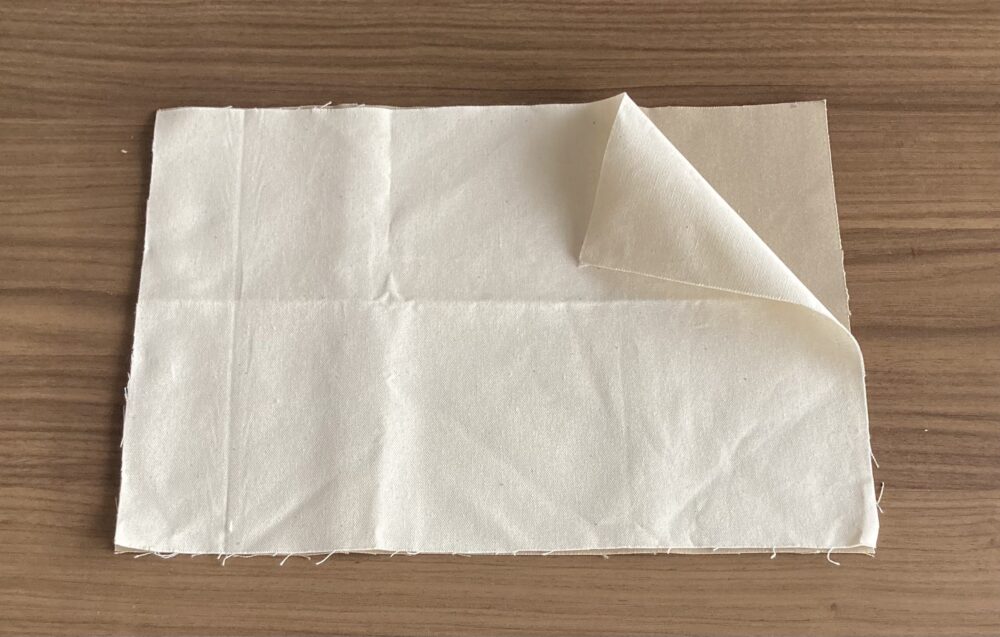
1.表地と裏地を繋げる
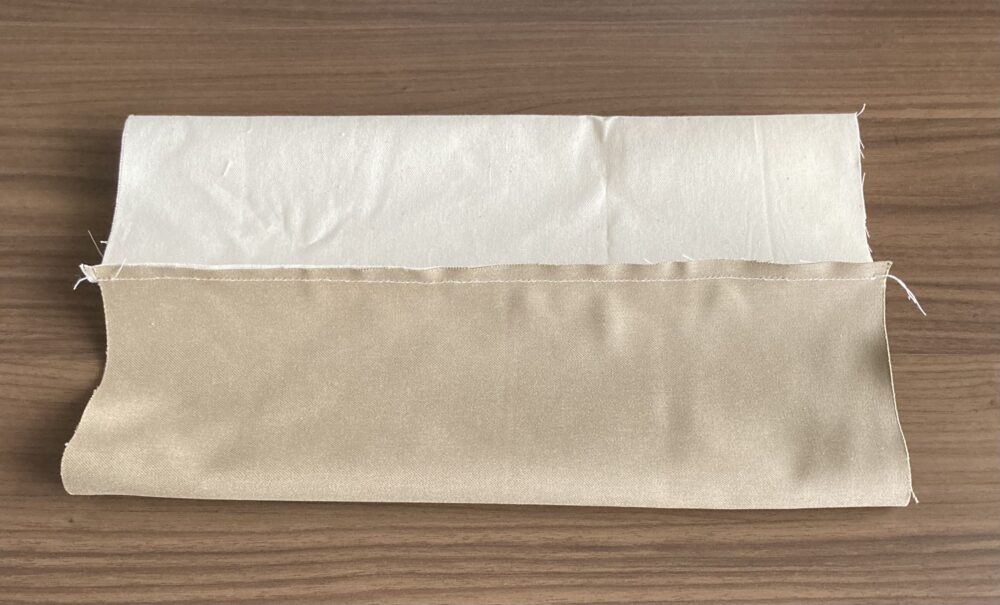
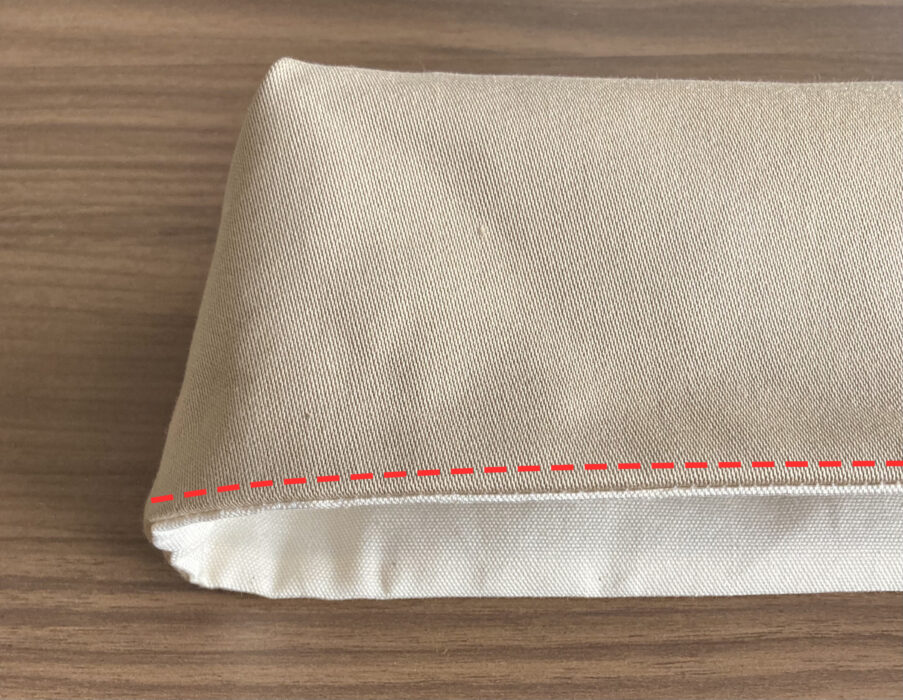
表地と裏地を中表(オモテ面同士が内側)で重ねます。
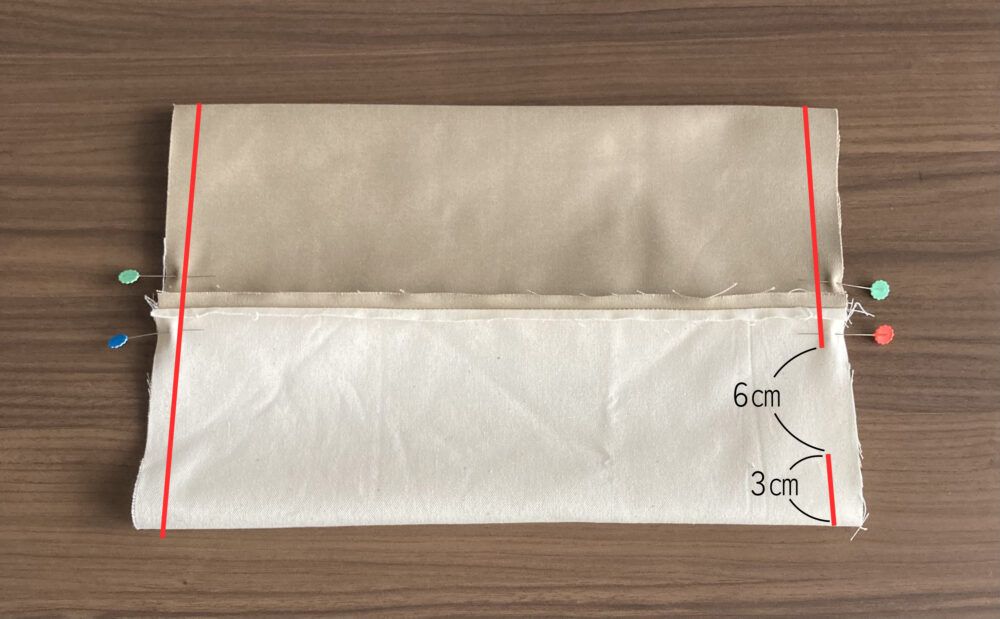
↓重ねた状態で、上下を縫い代1㎝で縫い合わせます。(写真の赤線部を縫う)
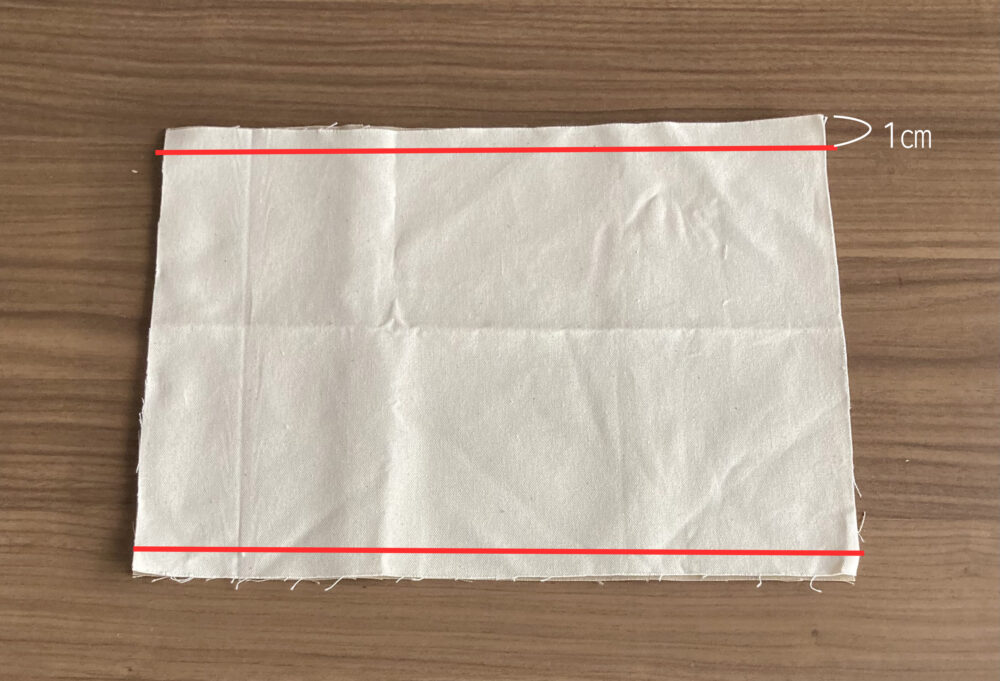
↓縫うと、この様に繋がっています。
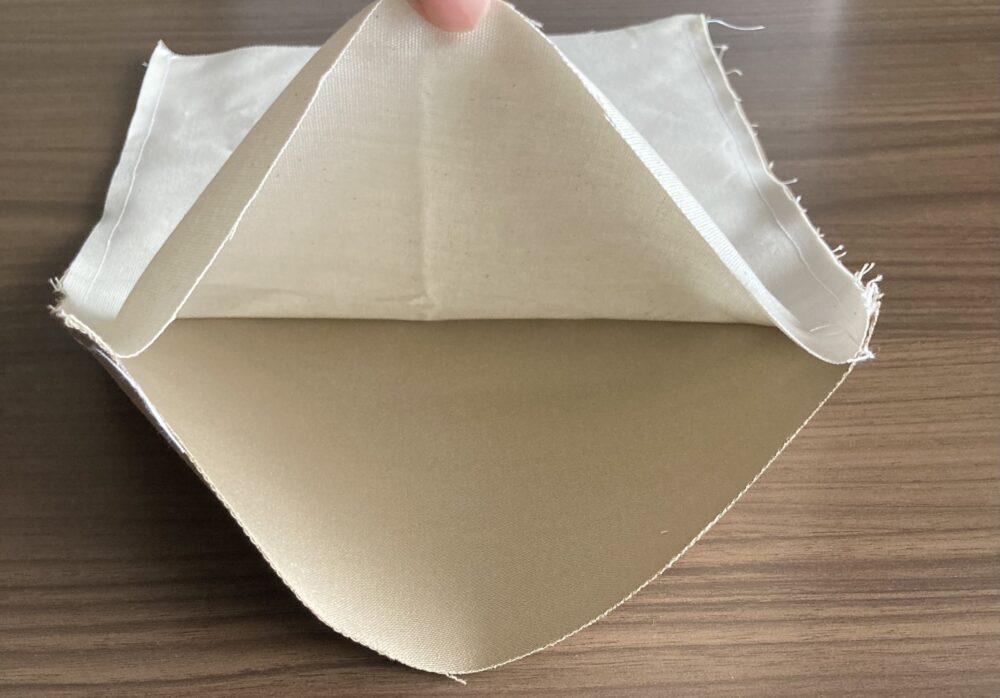
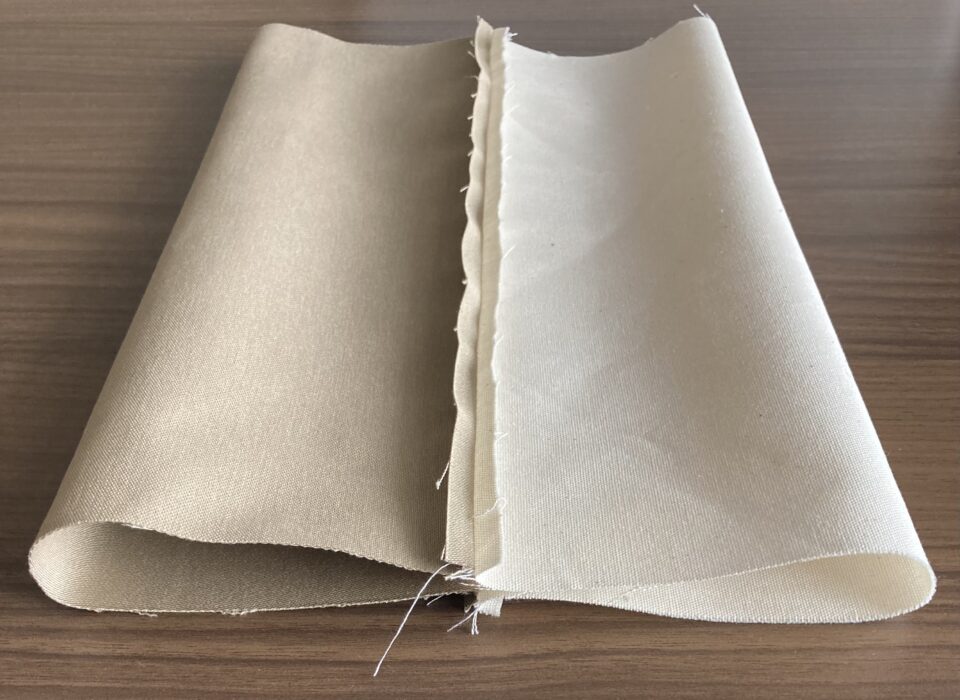
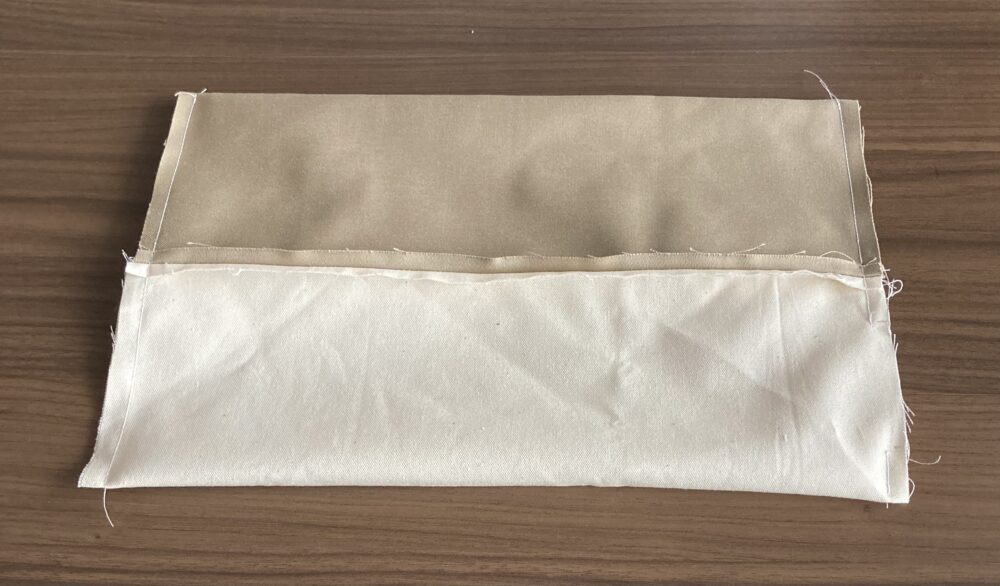
↓次に、今縫った部分が真ん中に来るように布を開きます。
↓横から見るとこうなっています。縫い代は割っておきます。
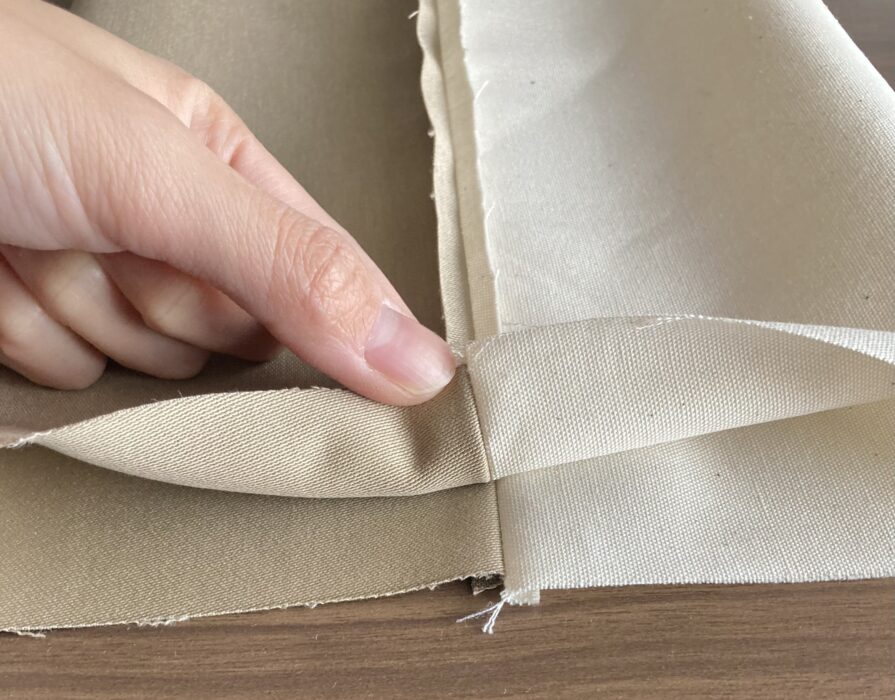
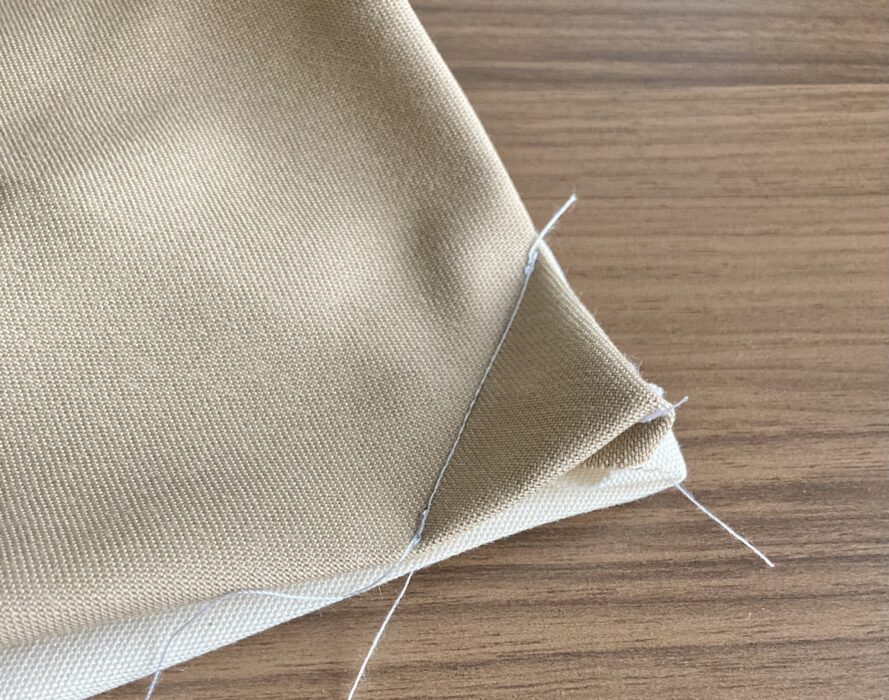
↓真ん中の縫い目(表地と裏地の境目)をピッタリ合わせます。
↓ずれないように待ち針などで固定します。
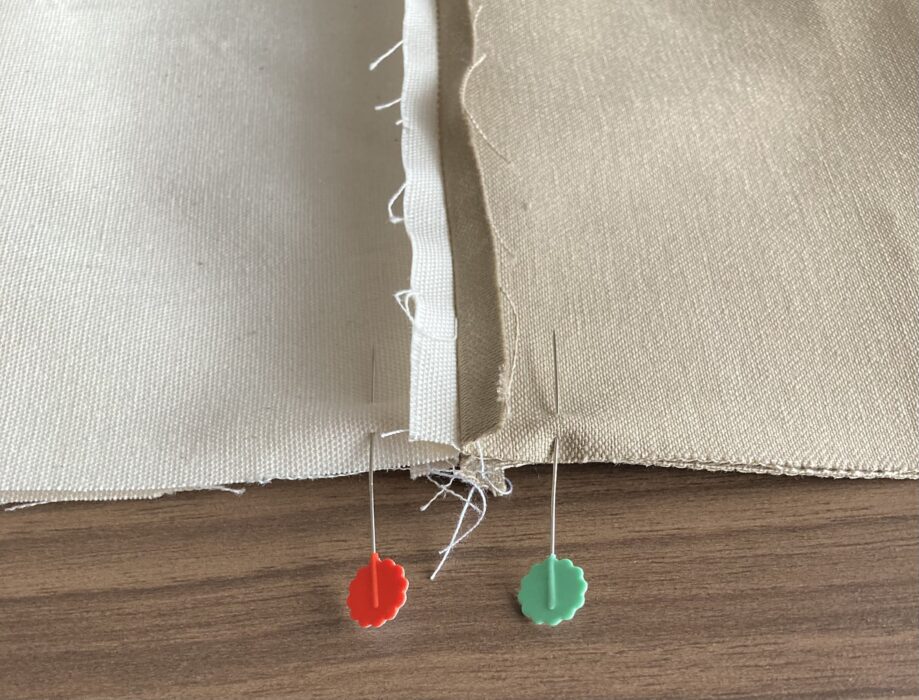
2.左右を縫う
左右を縫い代1㎝で縫い合わせます(写真の赤線部を縫う)。
この時に、裏地の片側の、底から3㎝の所に返し口を作ります。返し口は縫わずに6㎝空けておきます。
↓縫ったあと。
3.底マチを作る
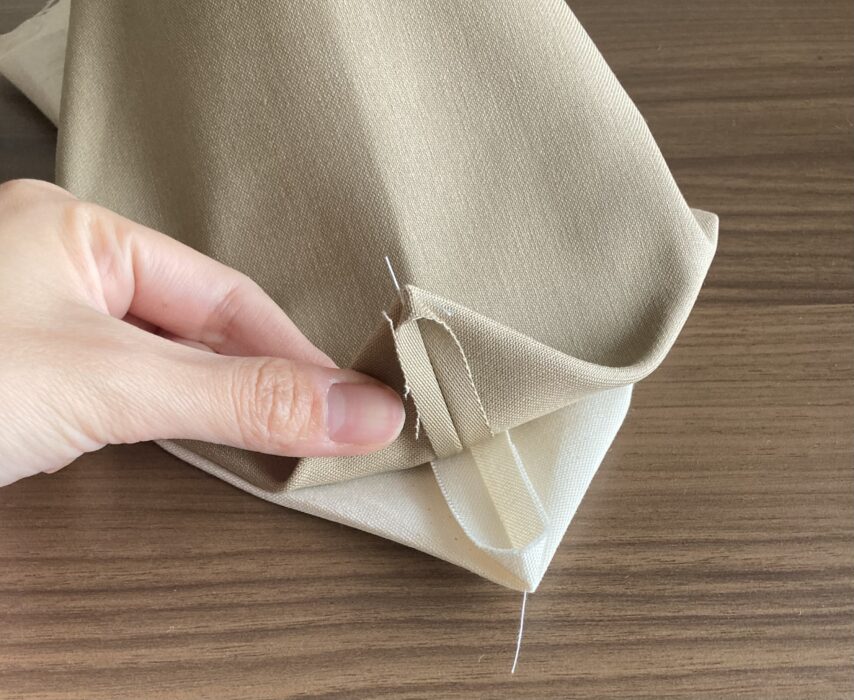
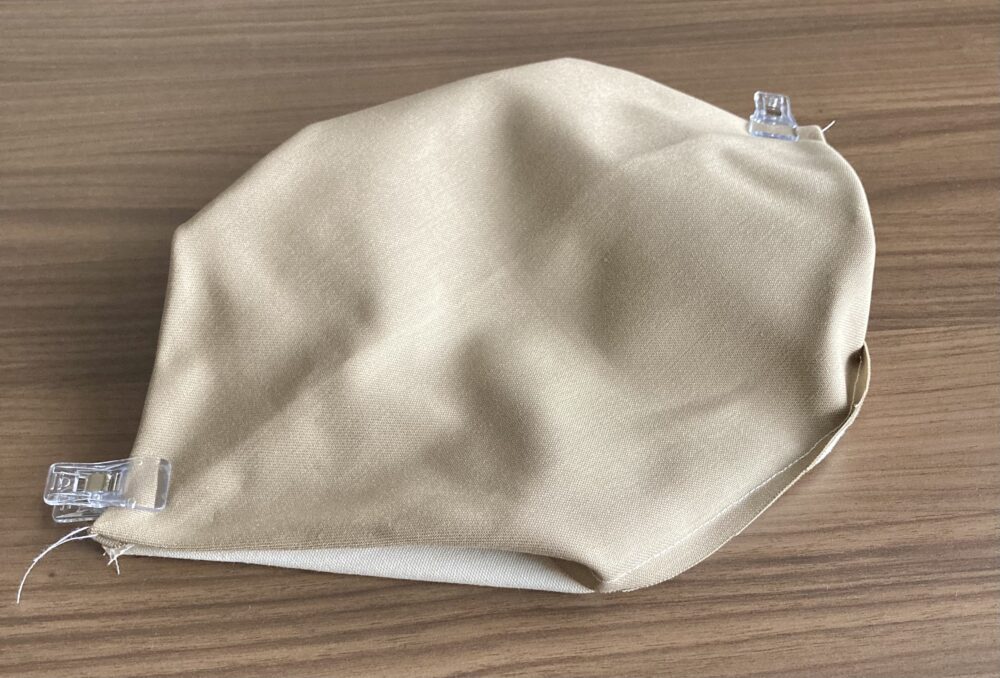
今縫った左右の縫い目が真ん中になるように角を開きます。
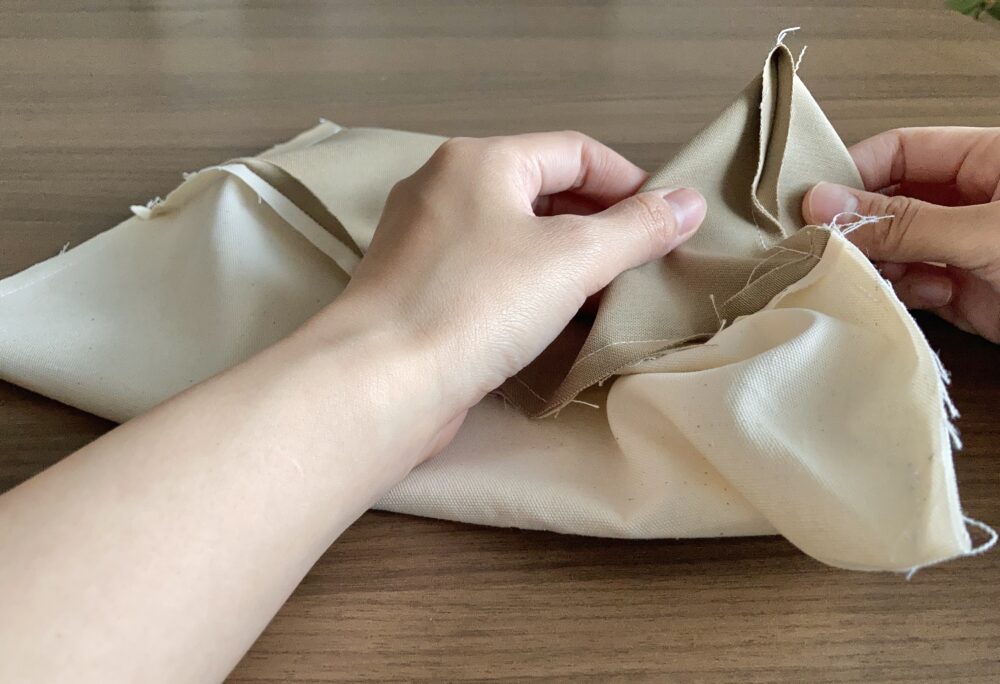
↓写真の様に、表地も裏地も角を三角に開きます。縫い代は割ります。
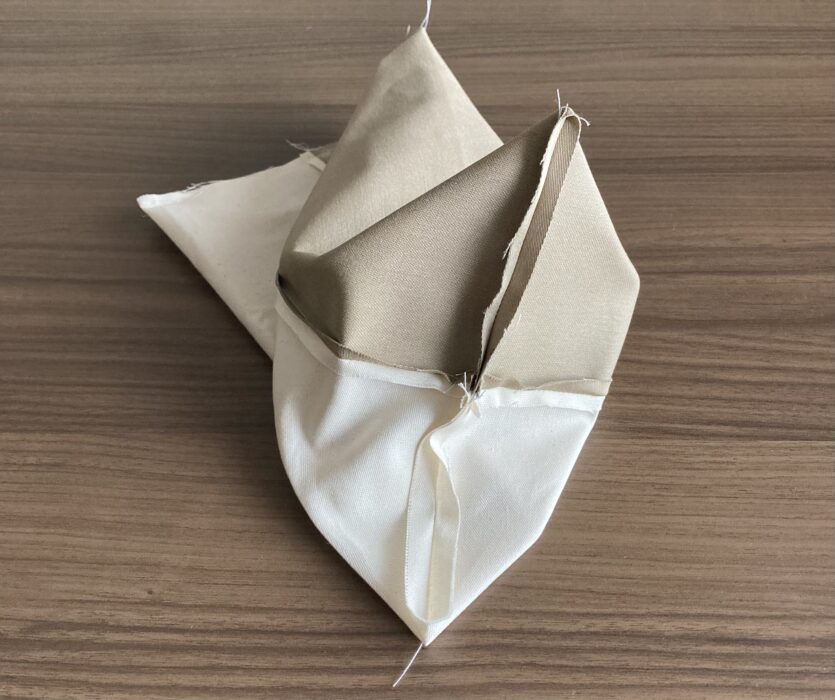
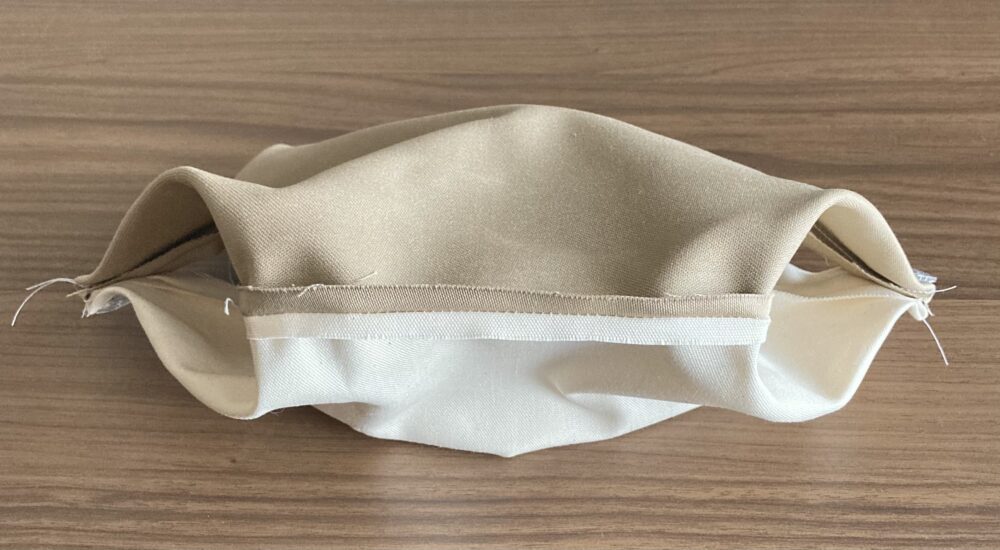
↓そのまま表地と裏地を重ねます。(縫い代同士が合わさる状態)
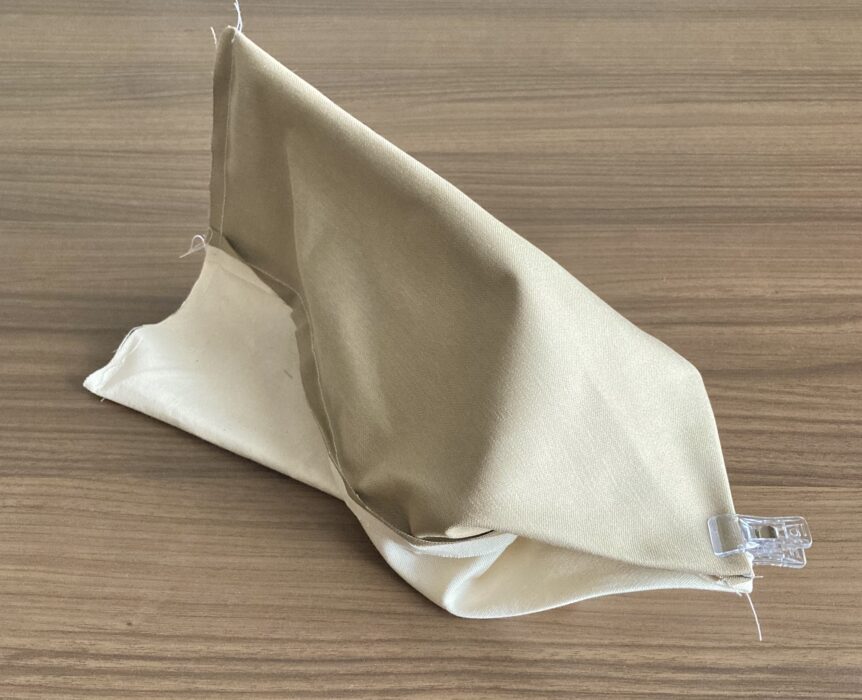
↓側方から見るとこうなっています。
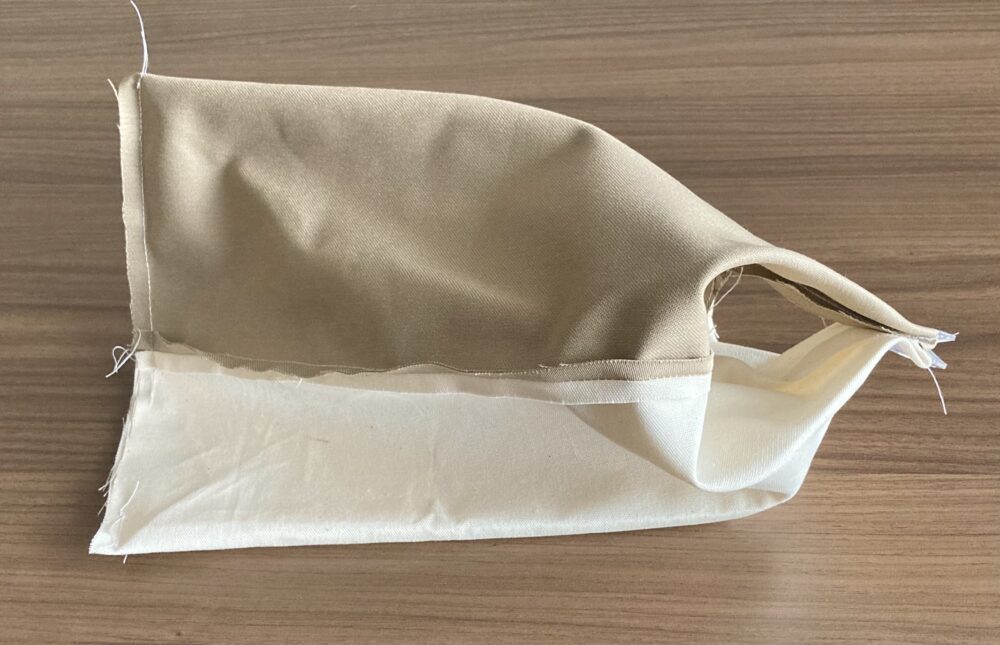
↓反対側も同様に角を開き、表地と裏地の角を合わせます。
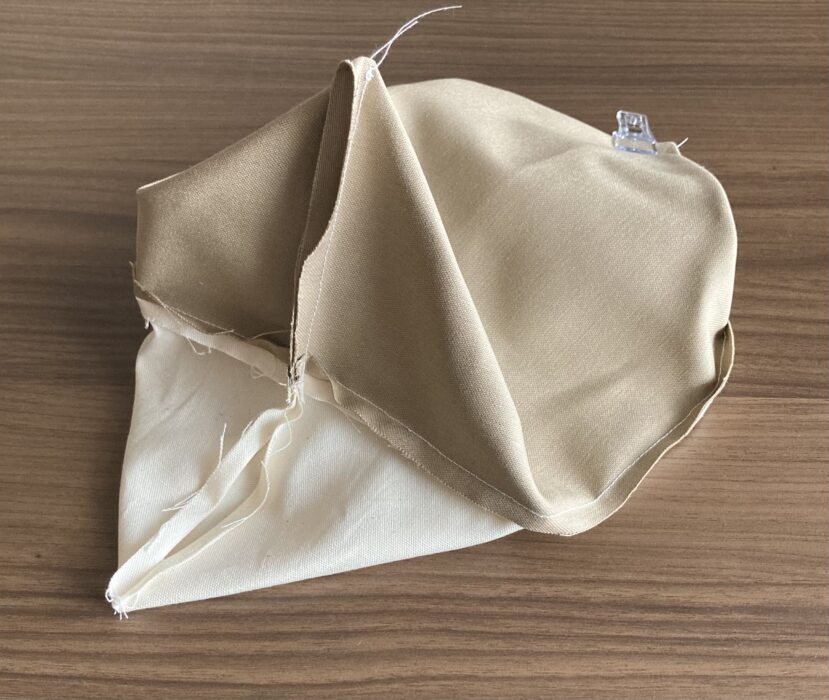
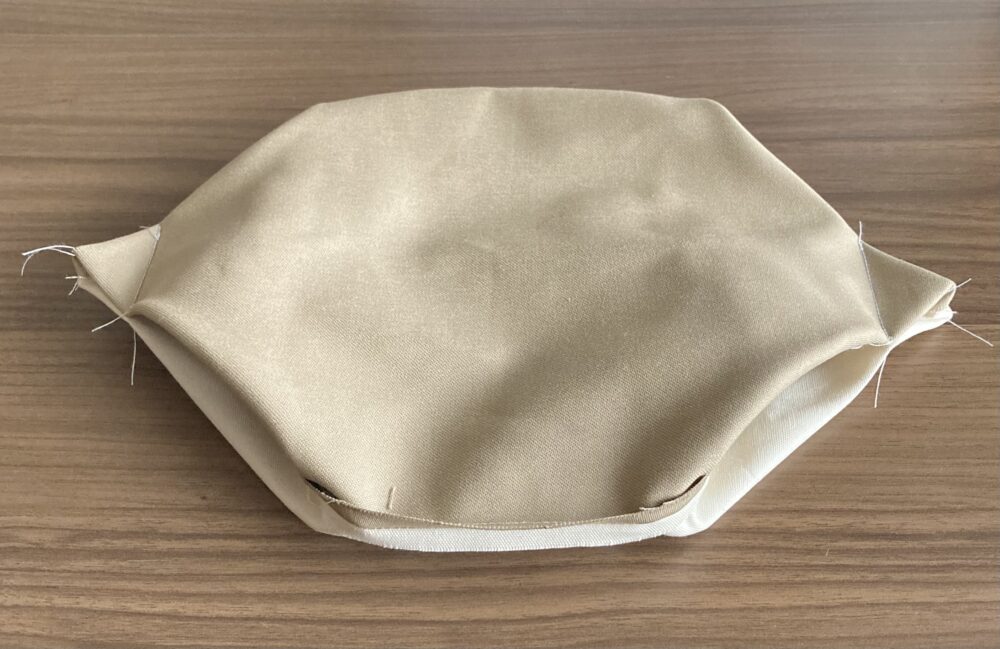
↓次に、角の部分の幅が5㎝になる所に線を引きます。

↓線に沿って縫います。(表地と裏地を二枚まとめて縫う)
↓反対側も同様に5㎝縫います。
↓縫い目から5㎜程度の所で、余分な角を切り落とします。
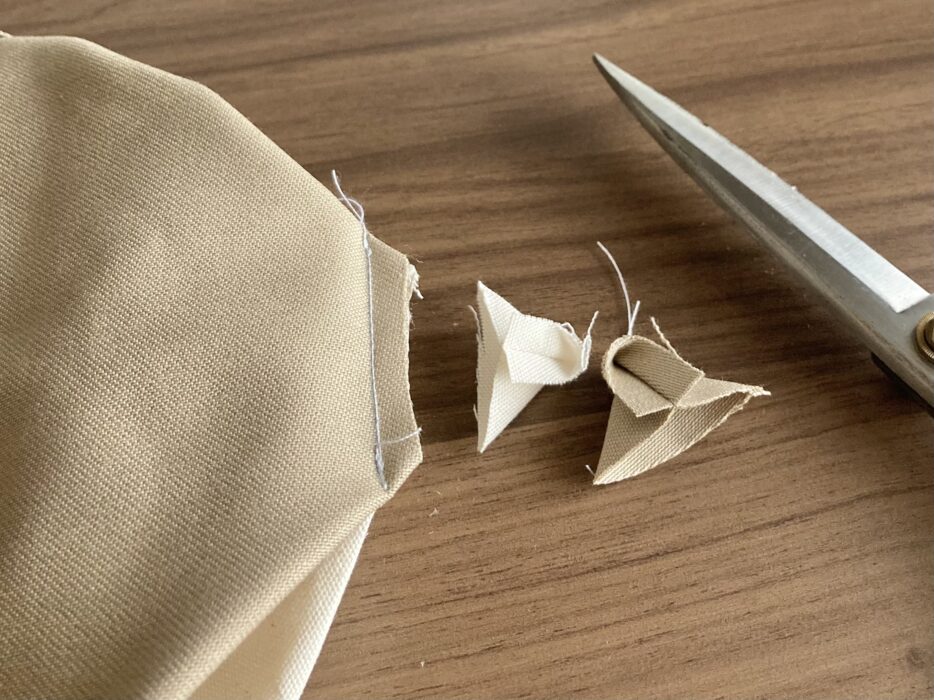
↓これで底マチの完成です。
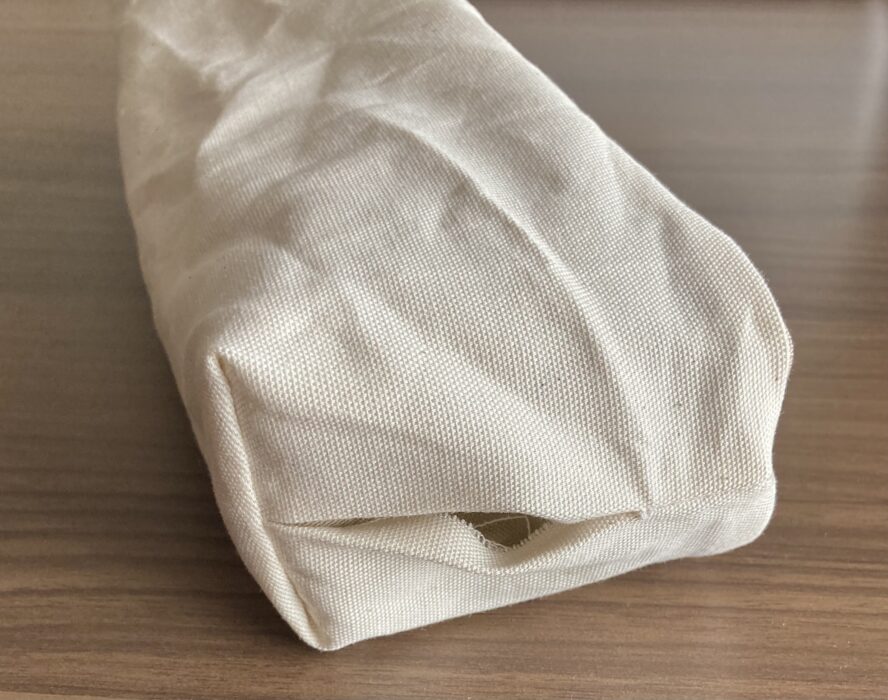
4.表に返す
写真の矢印の位置に返し口があります。
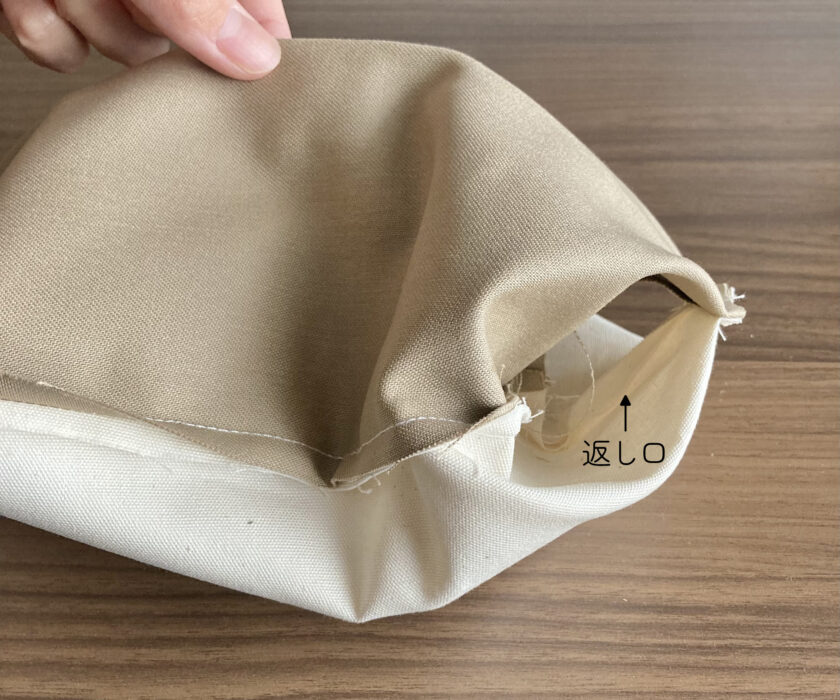
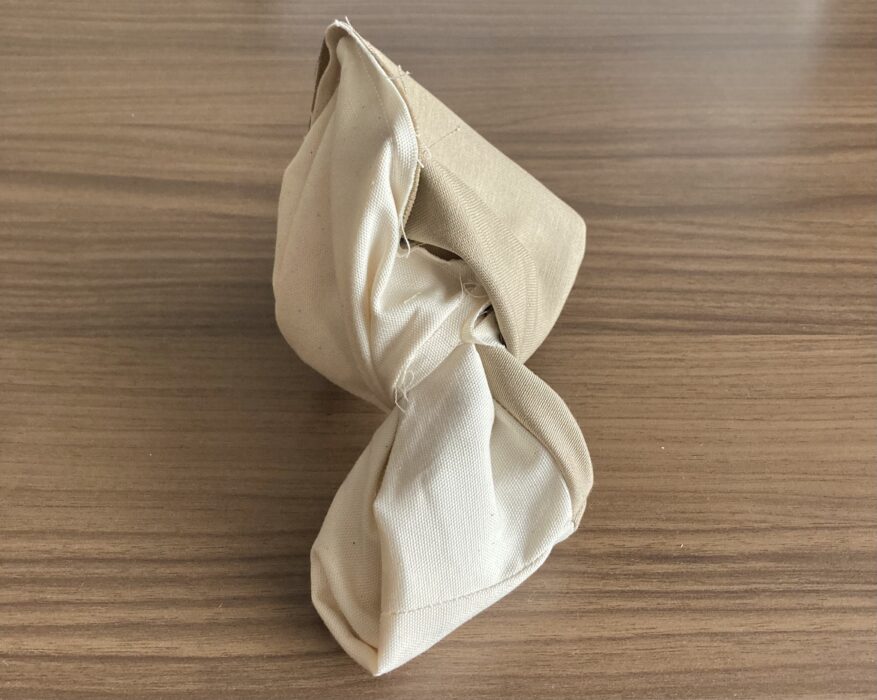
返し口の中に指を入れて布を引き出し、表に返します。
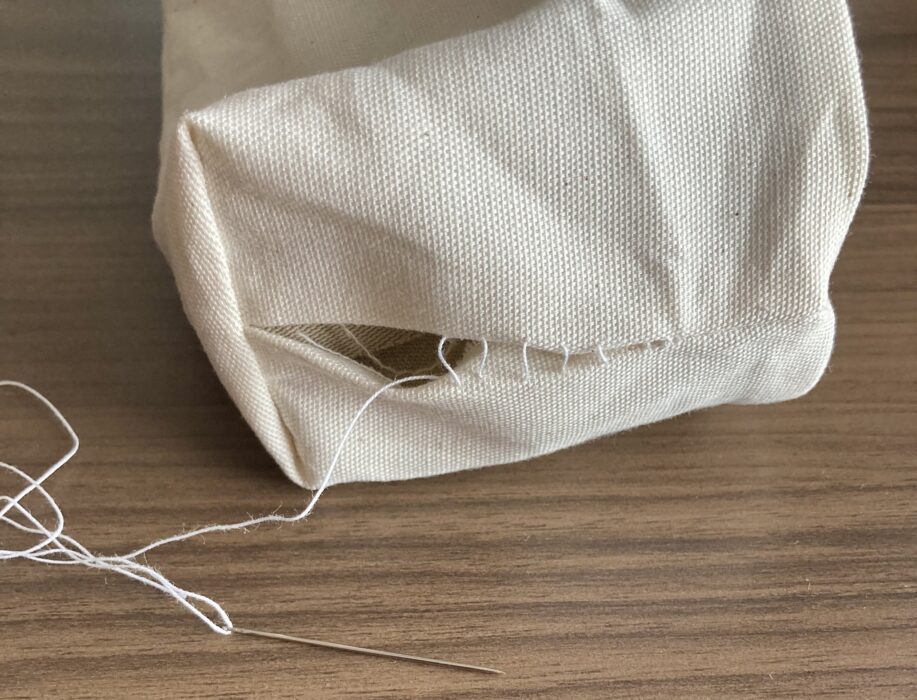
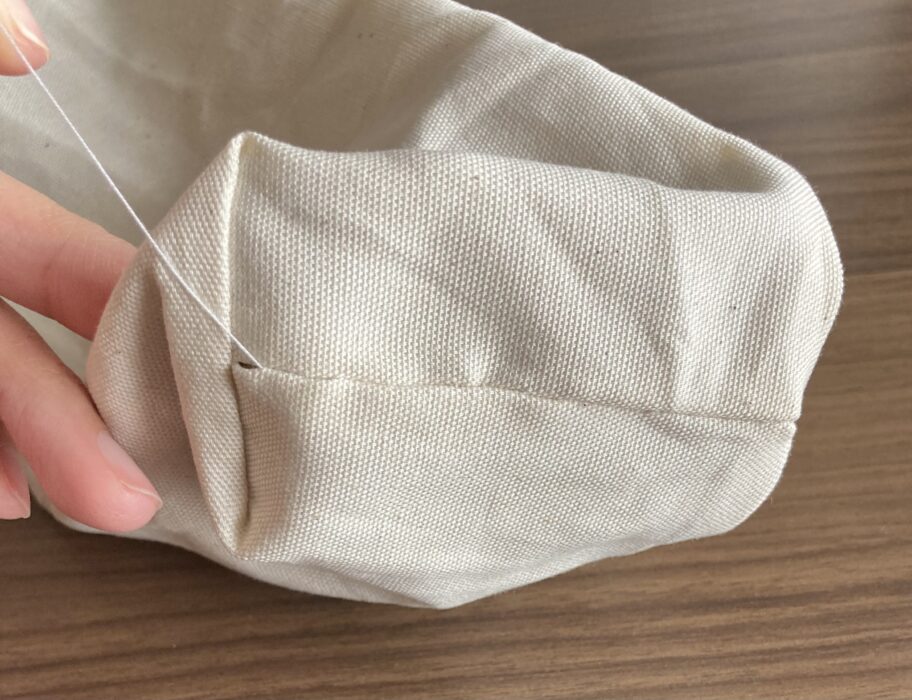
5.返し口を閉じる
返し口の布端を内側に1㎝折り込みます。
↓返し口を手縫いで閉じます。(まつり縫いやコの字とじなど)
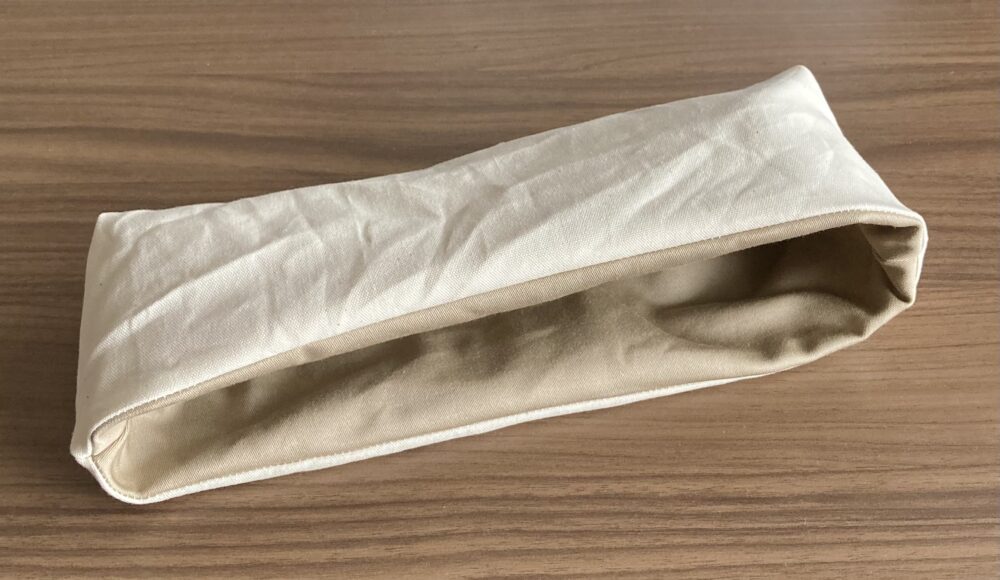
6.表に返す
表に返してアイロンを掛けます。
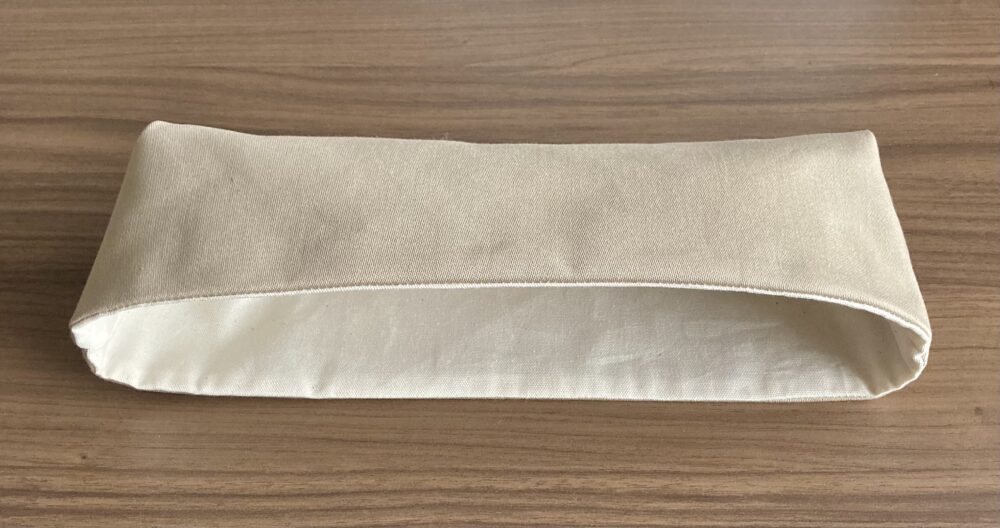

7.袋口を折り返して完成
口を少し折り返したら完成です。
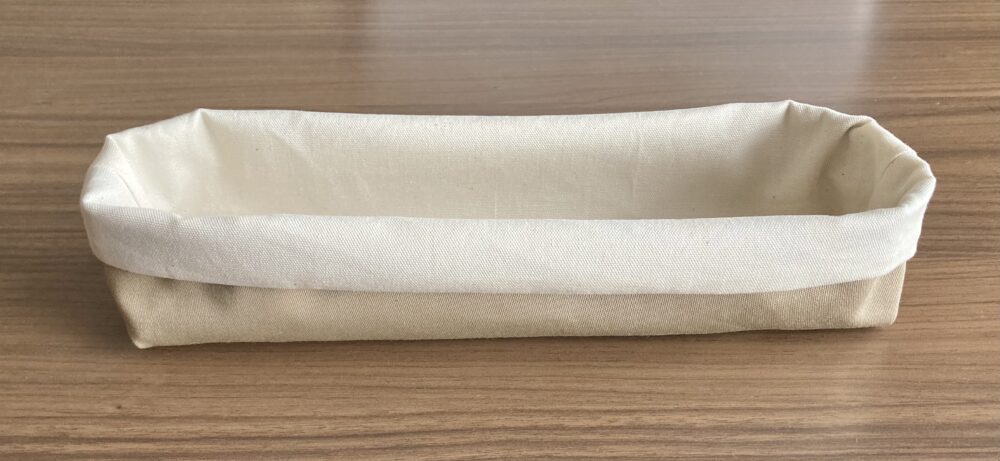
※↓お好みで袋口をぐるりと一周縫っても良いですよ。
最後に
テーブルで使えるカトラリーケースの作り方をご紹介しました。当サイトでは他にもハンドメイドレシピを多数掲載しています。よろしければ参考にしてみてくださいね。